Manage users
Categories:
Prior reading: Manage organizations
Purpose: This document covers organizations, user roles and permissions, and user and organization management in Verily Workbench.
Introduction
Flexible and structured management of users is a core requirement for enterprise software platforms. Organizational administrators should have visibility into the status of their population of managed users. IT and security administrators should be able to set organization-wide defaults and policy requirements, and well-defined organizational roles should support self-service actions where possible to ensure scalability.
To support these needs, Verily Workbench maintains a top-level Organization concept, representing a set of users linked by their employer or primary institutional identity. Each user, workspace, and data collection belongs to exactly one organization, creating a clear boundary of ownership, management, and control.
Most of the operations described below may be done via both the Workbench web UI, or the Workbench CLI. In a few cases, it is necessary to use the CLI.
Managing users
User lifecycle
The lifecycle of a Workbench user involves the following states:
- Invited: The user has been invited to join Workbench and (if required by license) acknowledge the terms of service.
- Active: The user is in good standing and may access Workbench features subject to their parent organization’s configuration.
- Disabled: The user has been disabled by an organization or Workbench administrator. The user may be re-enabled with all prior permissions kept intact.
- Archived: The user has been permanently removed from all access to Workbench. All permissions and group memberships have been removed.
Every Workbench user must be a member of exactly one organization. It is typically an organization admin who invites new users to the system (see Invite a new user to your organization). Administrators may also transition a user to a temporary Disabled state (if they expect to regain access in the near future), or a more permanent Archived state (if they are no longer an employee or have left the sponsoring organization).
Note
Some user management functionality requires use of the Workbench CLI. This provides a base level of support for administrative and automation-driven usage.Invite a new user to your organization
An organization admin is responsible for inviting new users to Workbench. You can do this via the CLI, or the Workbench web UI.
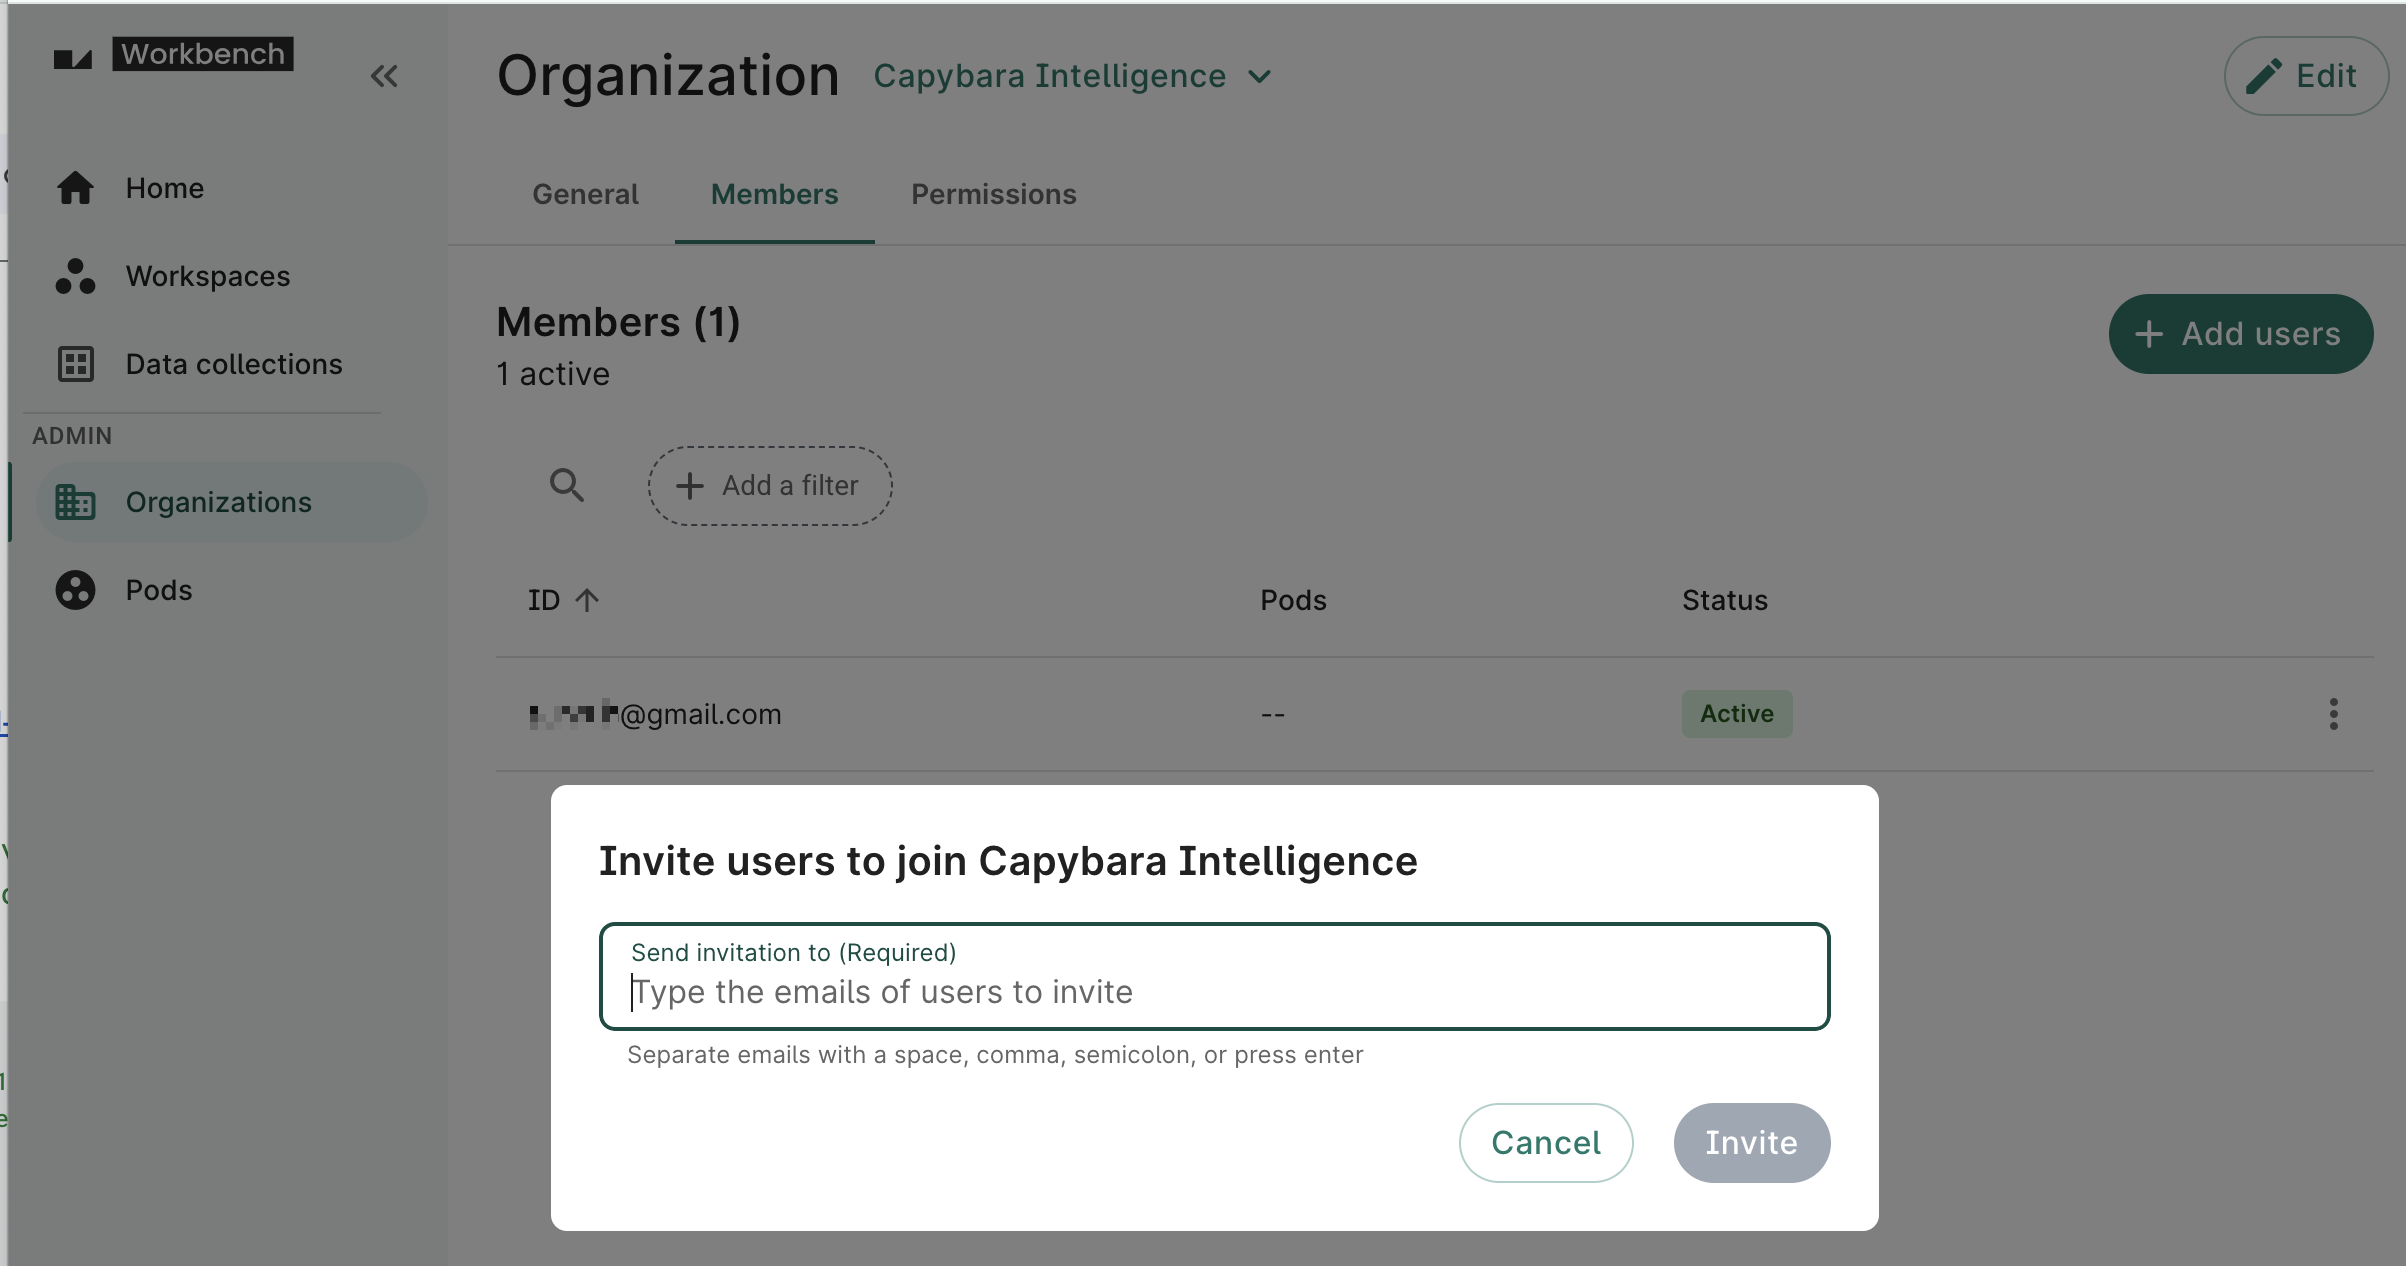
To invite a new user to an organization, click on the Add users button from the organization's page.
An organization admin can invite a user with the wb org user invite command:
wb org user invite --org=example-org --email=user.1@example.com
After a user has been invited, the rest of the flow is typically as follows:
-
(Optional, but necessary to allow the user to create new workspaces): the organization admin grants the user access to billing resources within the organization. This is done by adding the user to a pod. See Set up billing with pods for more detail.
-
The organization admin notifies the user that they’ve been invited and to visit https://workbench.verily.com/ to acknowledge the terms of service and gain access to Workbench.
-
The invited user logs in, acknowledges the terms of service, and continues to Workbench.
Acknowledge the terms of service
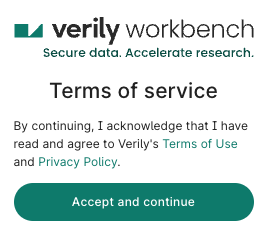
Depending on licensing terms, when a new user first logs in to Workbench, they may be asked to first acknowledge the standard terms of service:
After clicking Accept and continue, the user is redirected to the Workbench homepage and may access workspaces and data collections shared with them.
View users in your organization
An organization admin may get an overview of all users within the organization via the Members
tab of the Organizations page in the UI, or with the wb org user list command:
$ wb org user list --org=example-org

EMAIL                        STATE            TOS STATUS      ROLES
admin.1@example.com          ACTIVE           TOS_OK          ADMIN
user.1@example.com           ARCHIVED         TOS_OK          USER
Note
In some cases, a user who belongs to one organization may
have been granted the "organization admin" role on another organization. In this case, the admin
user will show up in the wb org user list output for the second organization. In the UI, you will
see these users listed in the Permissions tab with an "External" chip next to their name.
Disable or archive a user
If a user should no longer have access to Verily Workbench, an organization admin may temporarily disable or permanently remove a user’s access.
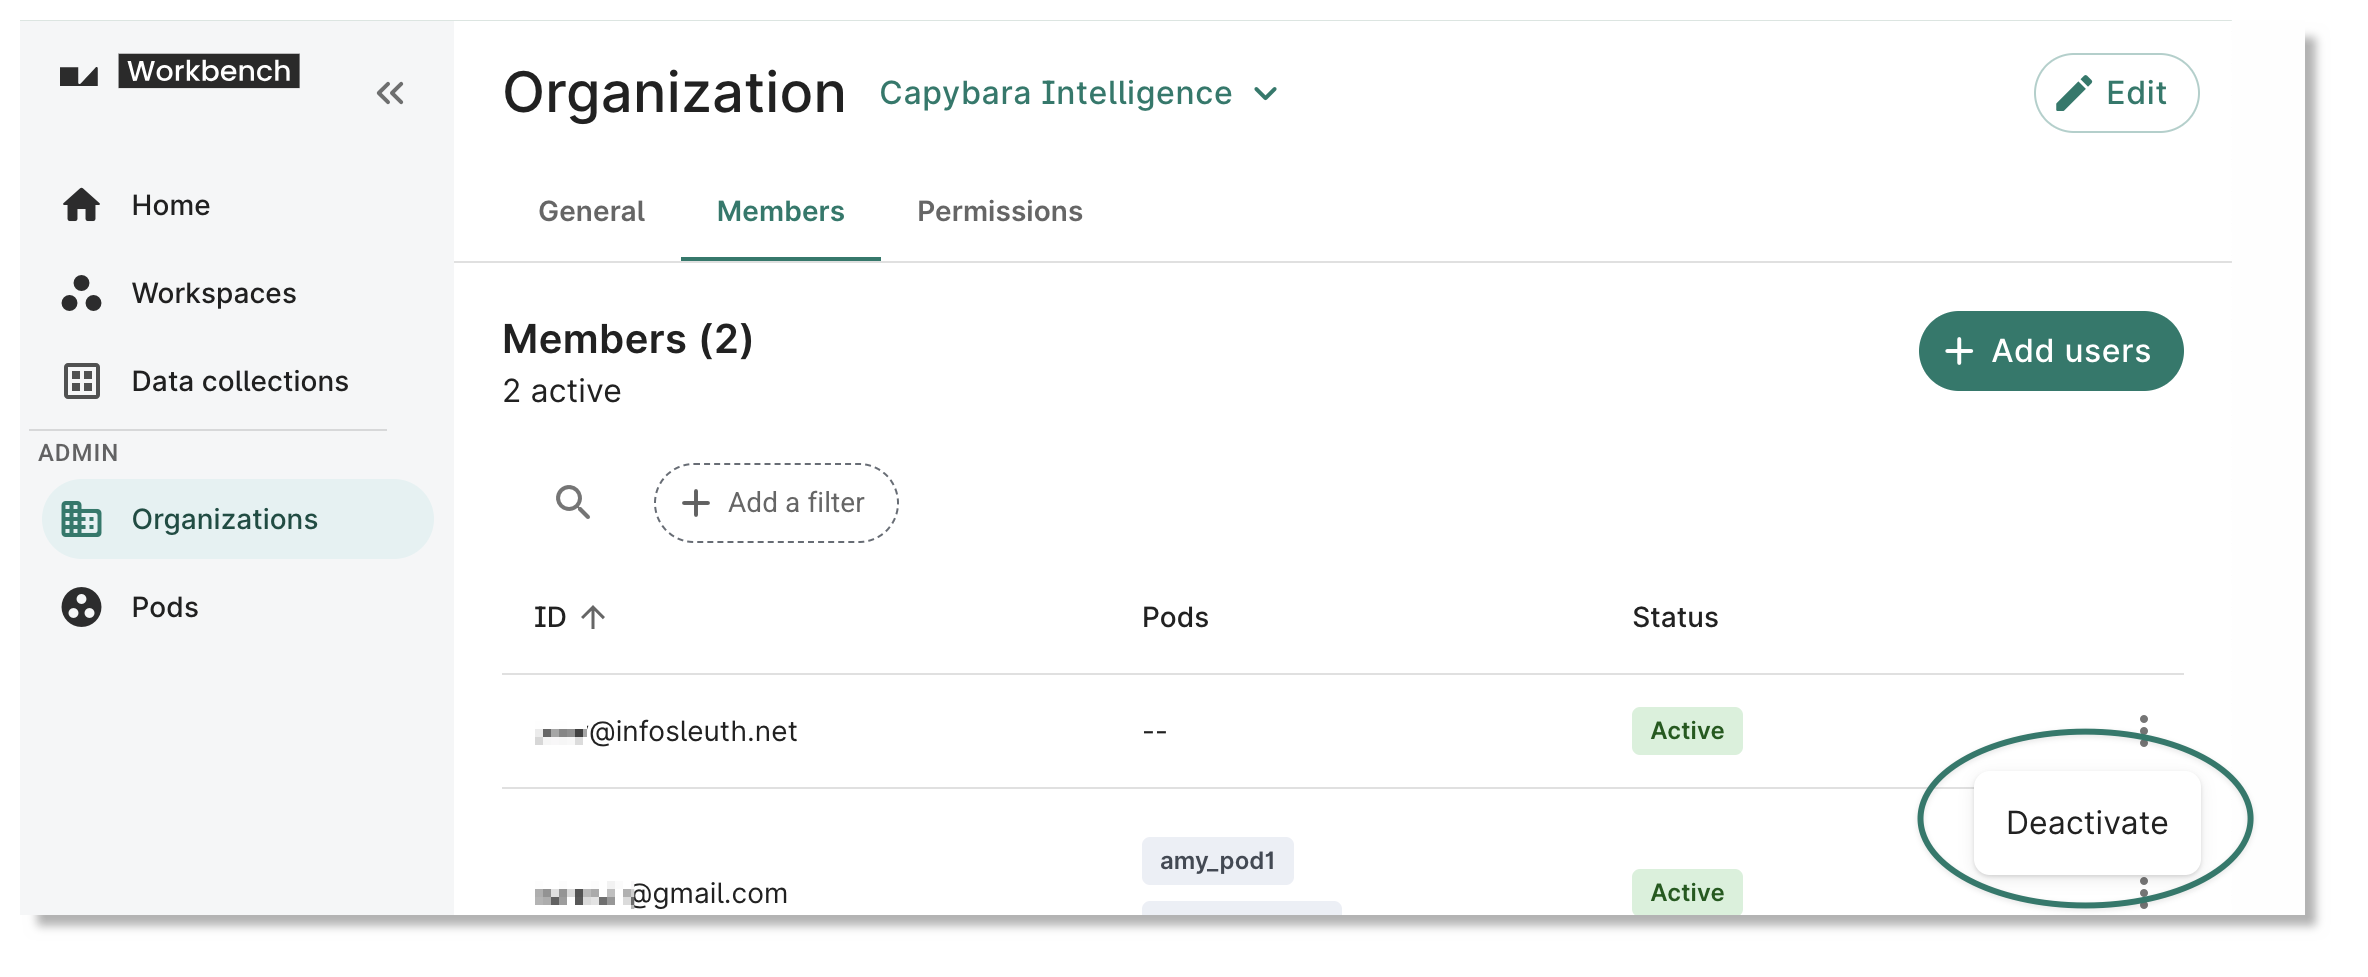
Disabling ("Deactivating") a user in Workbench will cause their login access to Workbench to be revoked, without permanently removing that user’s presence in workspace and organization ACLs and permission sets. This allows the operation to be completed quickly and to be easily reversible, e.g., if an employee is on temporary leave.
In the Members list for an organization, click on the 'three-dot' menu for a user, and select Deactivate.
Disable a user with the wb org user disable command:
$ wb org user disable --email=user.1@example.com --org=example-org

User user.1@example.com disabled in the organization example-org.
Re-enabling a user
Once disabled, a user can be re-enabled via the Workbench UI by re-inviting them, and via the
CLI using the wb org user enable command.
Archiving a disabled user
A user may also be more permanently removed from Workbench via the CLI, with the
wb org user archive command.
Be aware
Currently, once a user with a given email address has been archived, they may not be re-invited to Workbench. This restriction is expected to be relaxed in a future release.$ wb org user archive --org=example-org --email=user.1@example.com
Email: user.1@example.com
State: DISABLED
ToS Status: TOS_OK
Org Roles: USER
Archiving users cannot be undone. Are you sure you want to archive this user? (y/N) y
User user.1@example.com has been archived in the organization example-org.
Proxy groups
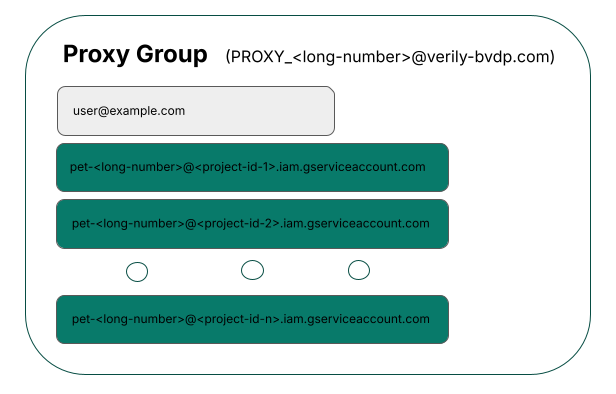
Every Workbench user has their own "workspace service account." A service account (SA) is a special type of Google account that lets Workbench interface directly with Google Cloud on your behalf. For example, the Workbench cloud apps are configured to "act as" your workspace SA.
Adding a member to a Workbench group implicitly adds their workspace service account to the group as well. So, by sharing a resource with a Workbench group, you're sharing that resource with the group members' service accounts as well, and this will allow them to, for example, access that resource from their apps and other workspace contexts. When a group is granted access to a resource, the group members are able to access that resource from any of their Workbench workspaces. When you need to grant a user access to data on Google Cloud, it's best practice to grant access to a Workbench group instead of an individual user.
Each Workbench user has an associated automatically-created proxy group that holds only that user and their workspace service account(s). The proxy group can be used to set up access permissions as well. See the next section for more detail.
Finding your proxy group
You can see the address of your own proxy group, along with your "workspace service account" for the current workspace, by running the command:
wb auth status
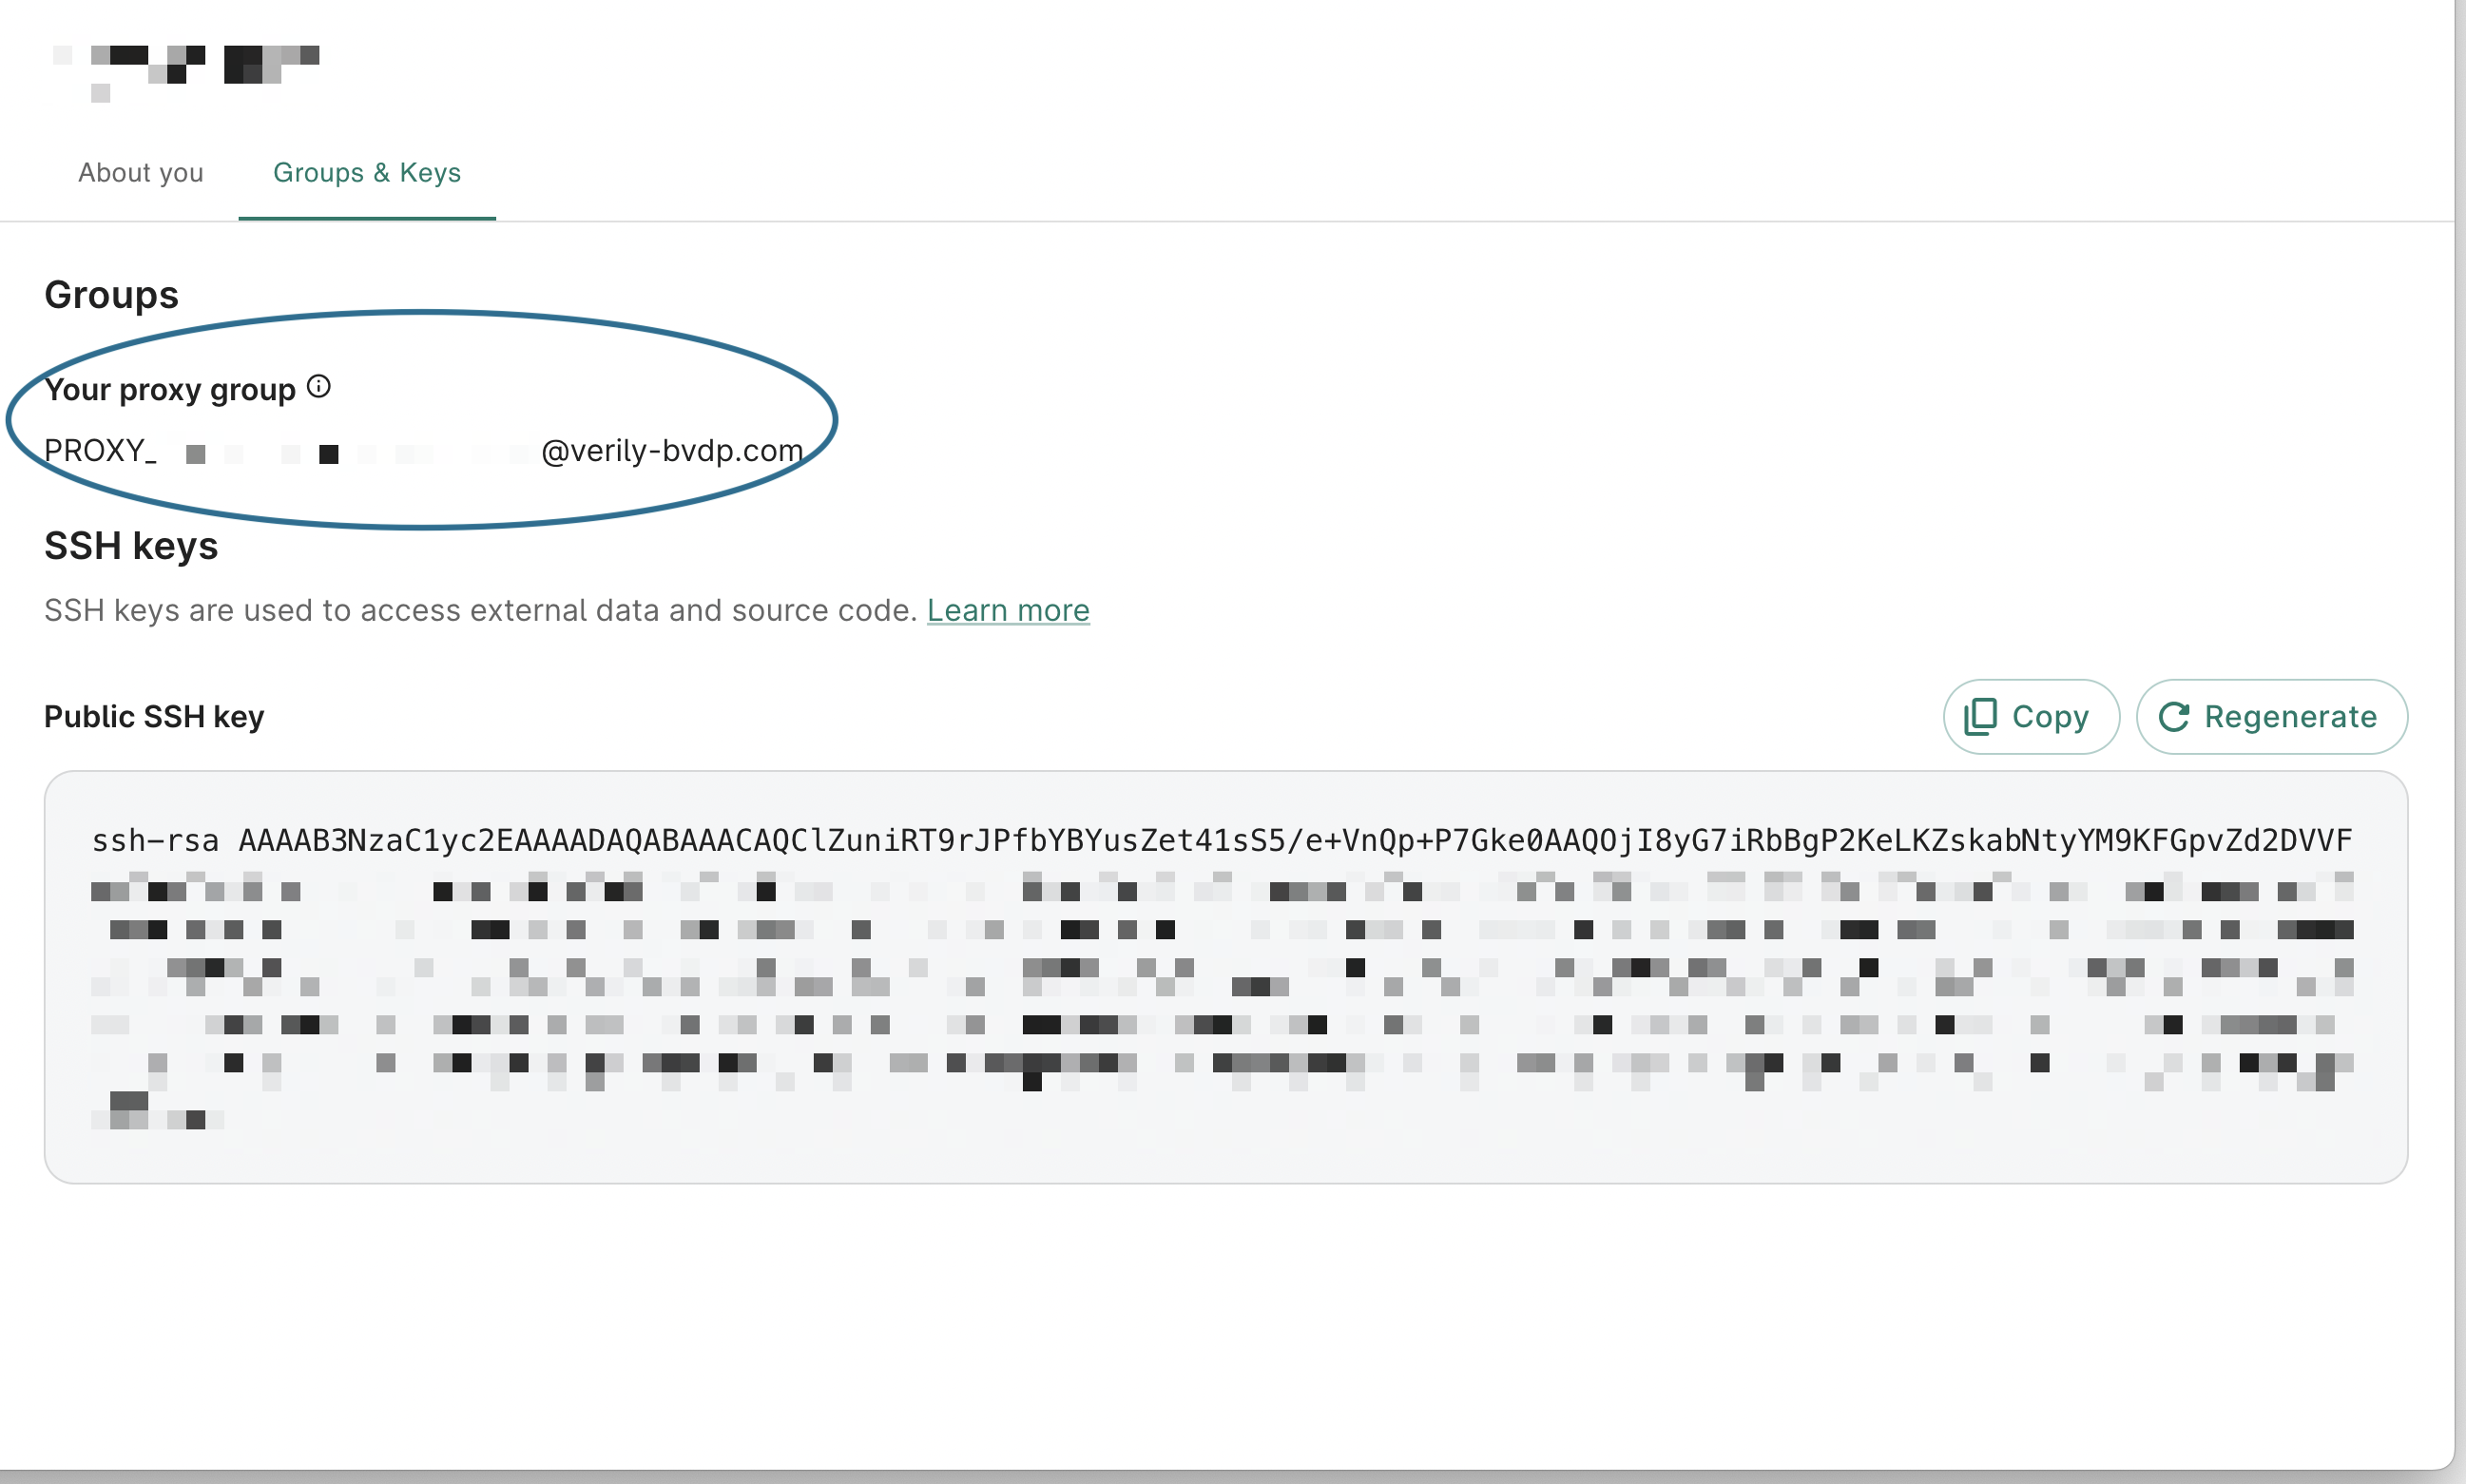
You can also see the proxy group listed in Your profile:
Last Modified: 16 April 2025