Git repositories in cloud apps
Categories:
Prior reading: Command-line interface overview
Purpose: This document provides summary examples of commands that may be used alone or in combination when using Git repositories in notebook apps.
Introduction
Verily Workbench supports a
referenced resource for
Git repositories. You can add relevant
repositories to a given workspace. Then, when
you create a cloud app in that workspace, the
referenced repositories are automatically cloned to the app. You can then use the Git extensions on
the app to commit and push your changes as described in Git integrations with cloud
apps. On your local machine, you can use wb git clone --all to
clone all the Git repository references corresponding to a particular workspace to your preferred
directory.
Prerequisites
These instructions assume that you have already installed the Workbench CLI (command-line interface) or are working in a cloud app where it has been installed, and that you have logged in and set the workspace you want to work with as described in Use an existing workspace.
Set up your SSH key (optional)
If you want to access private Git repositories, then you'll first need to associate your Workbench SSH public key with your GitHub account as described in Set up an SSH key.
Add a Git repository to a workspace
Use the
wb resource add-ref git-repo
command to create Git repository references. Note how the format of the --repo-url values differs
for public and private repositories.
# Public Git repository
wb resource add-ref git-repo \
   --id="repo_1" \
   --repo-url=https://github.com/MyGithubOrg/my-public-project.git

# Private Git repository
wb resource add-ref git-repo \
   --id="repo_2" \
   --repo-url=git@github.com:MyGithubOrg/my-private-project.git
Create a Compute Engine app pre-loaded with the repositories
Create an app
Use the wb app create command to create a new
Compute Engine app. Make sure to replace
<config_name> and <my_cloud_app> with the app config and instance name you want to use,
respectively.
wb app create gcp \
   --app-config=<config_name> \
   --id=<my_cloud_app>
Note
Runwb app config list to see a list of valid Compute
Engine app config types.
Get the app proxy URL and connect to the JupyterLab server
The wb resource describe command prints
out descriptive information about the given app. It includes the proxy URL, which is the link to
access the app's JupyterLab server.
wb resource describe –-name=<my_cloud_app>
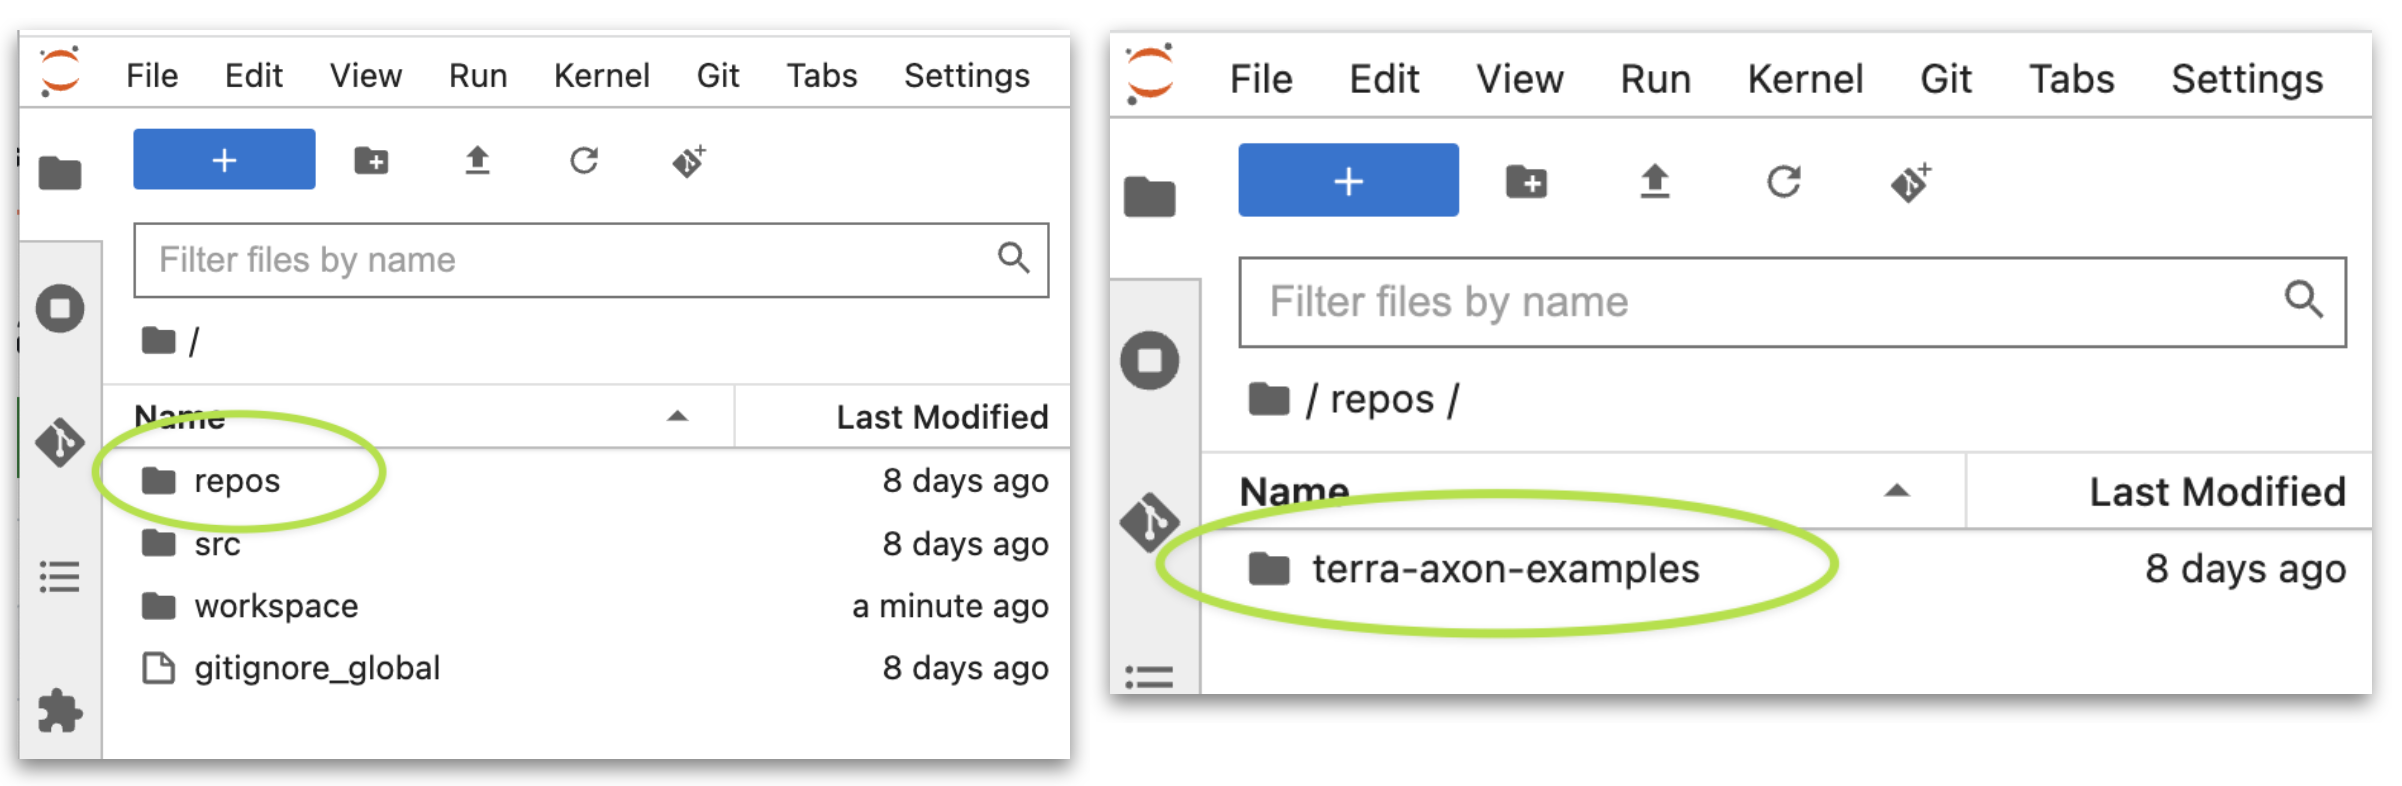
For any repo references that you added prior to creating an app, the Git repository will be
automatically cloned to the JupyterLab server's file system, under the ~/repos directory.
Clone Git repositories after app creation
If you add additional Git repo resources to a workspace and want to clone them into an app that you
have already created, run the wb git clone command
in your app.
wb git clone --all
Last Modified: 23 April 2025