Create a data collection in the Workbench UI
Categories:
Prior reading: Data collections overview
Purpose: This document shows how to create and publish a data collection via the Workbench user interface.
Create and manage a data collection using the Workbench UI
You can manage most steps in the lifecycle of a data collection yourself using the Workbench UI. This includes creating and publishing new versions of the data collection. If you'd prefer using the Workbench CLI, please see Creating a data collection with the Workbench CLI.
Note
Individual researchers in the free Standard Researcher tier cannot create data collections. To speak with someone to upgrade your plan, please complete this form.Step 1: Create a data collection
In the Workbench UI, click the Data collections icon in the left-hand menu. This page lists all of your data collections that you're a Writer or Owner of, and can therefore manage and modify.
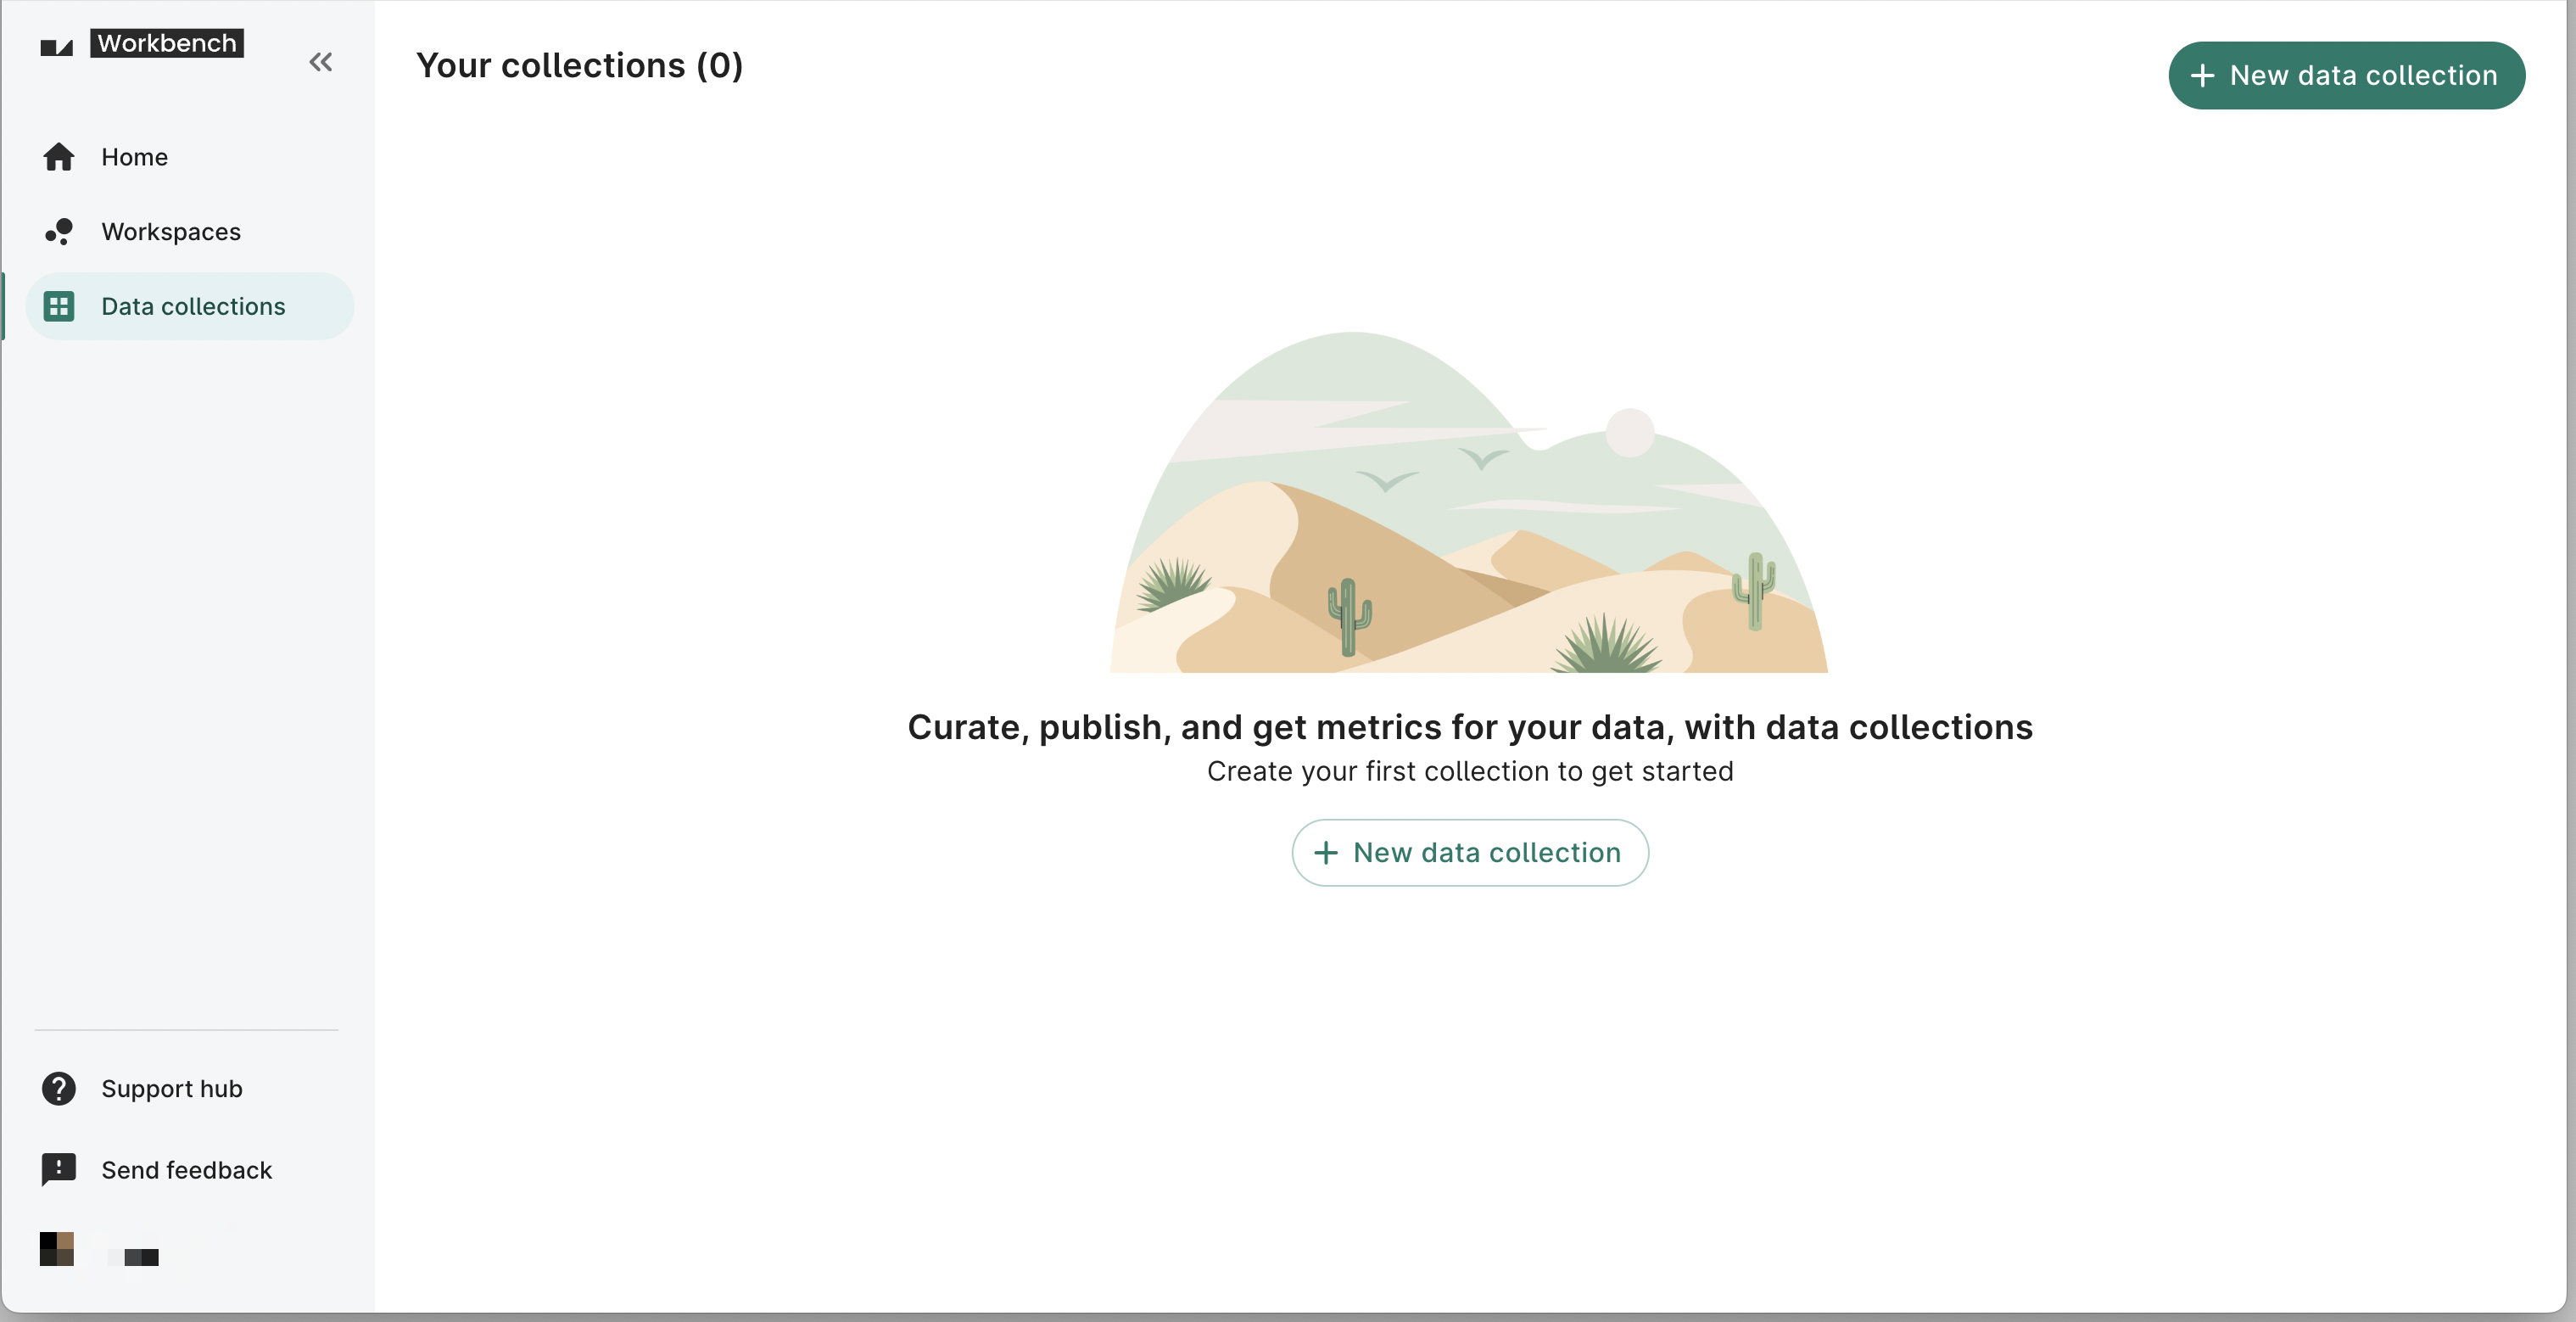
Click the + New data collection button to open the data collection creation dialog.
Note
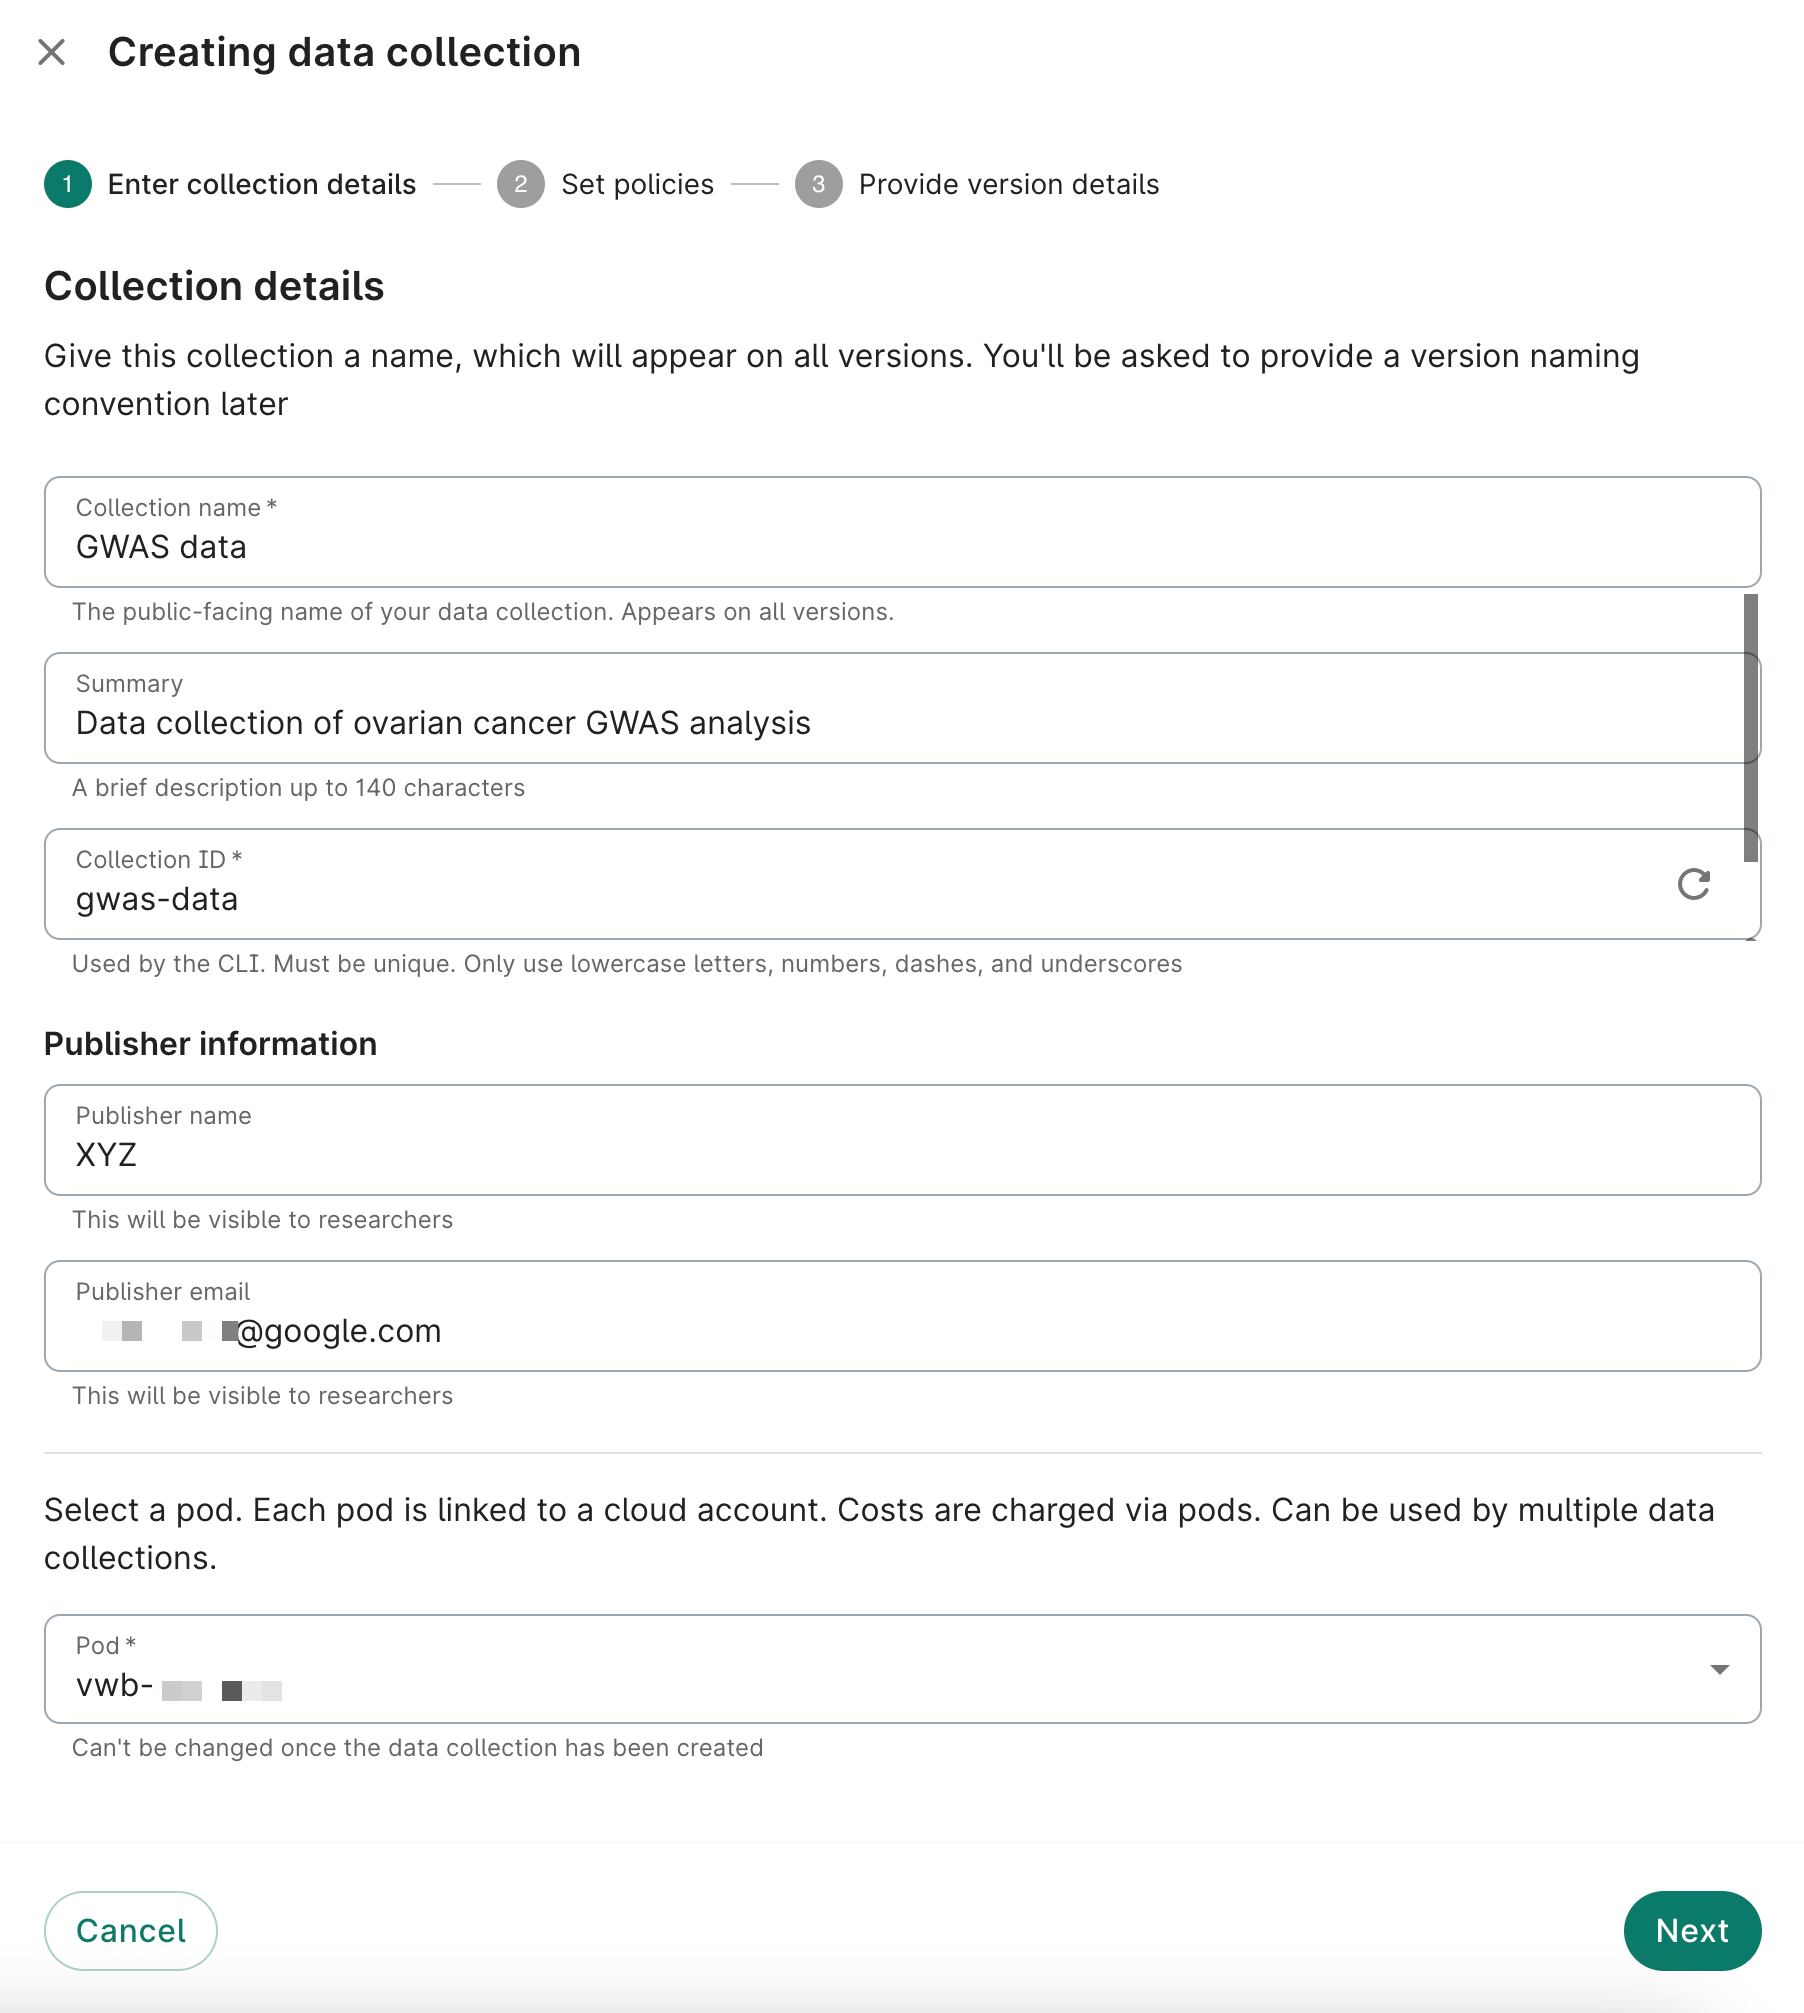
The + New data collection button will be disabled if you're not placed in a pod. See Set up billing with pods in Verily Workbench for more details.In the first step, you'll be asked for a data collection name and ID, publisher name and email address, and pod for billing purposes. The publisher name and email address should belong to a subject matter expert who can answer questions regarding the schema, use cases, and access controls around the data. The pod you select will determine the cloud platform for the data collection (AWS or GCP). All other fields, such as metadata tags and a collection image, are optional.
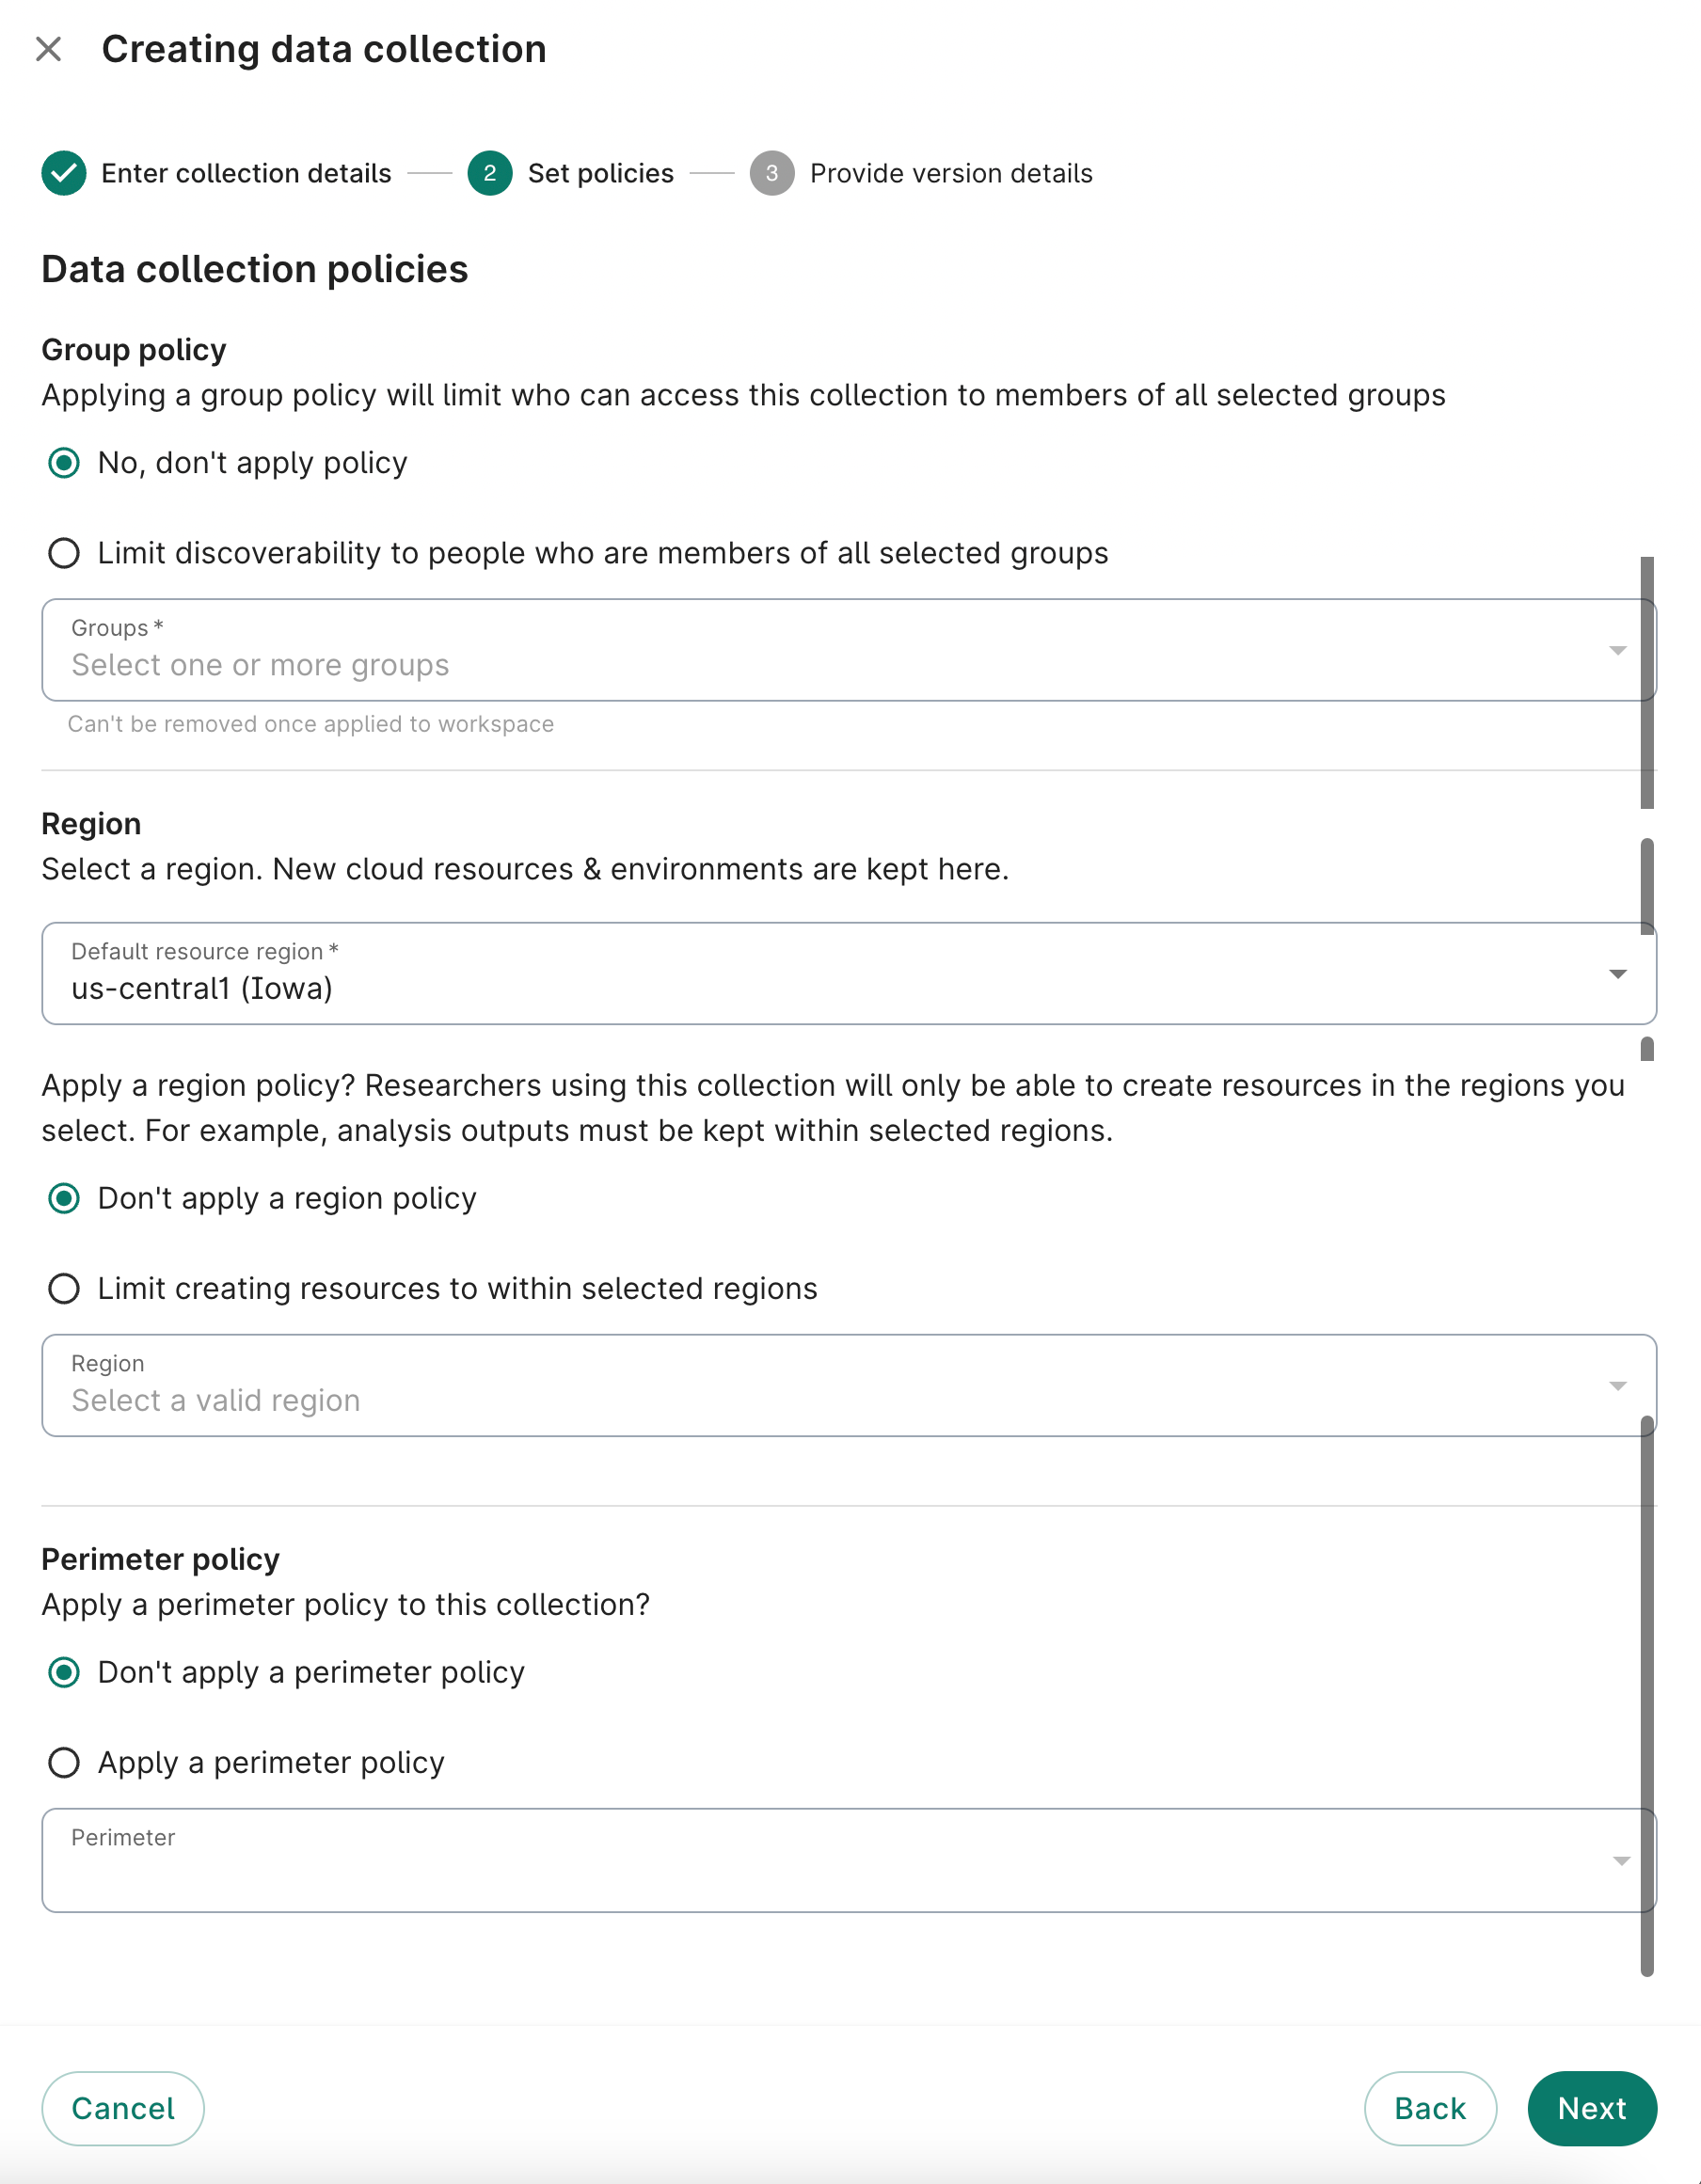
On step 2, you'll have the option to add policies to your data collection. See the Governance section for more information about each policy type.
Note
Once these policies are added, they cannot be subsequently removed from your collection.
While group policies restrict access, users with Discover access will still be able to view the data collection's metadata.
On step 3, you’re asked to give information for the first version of your data collection. Remember that data collections have one or more versions associated with them. An end user can select the version from which they want to import resources. When you create a new data collection, your first version is created automatically by the UI. You're only required to enter a version name. You can optionally enter a URL that links the user to release notes describing the changes and updates in your data collection.
Note
At any given time, you can only have one version in draft form.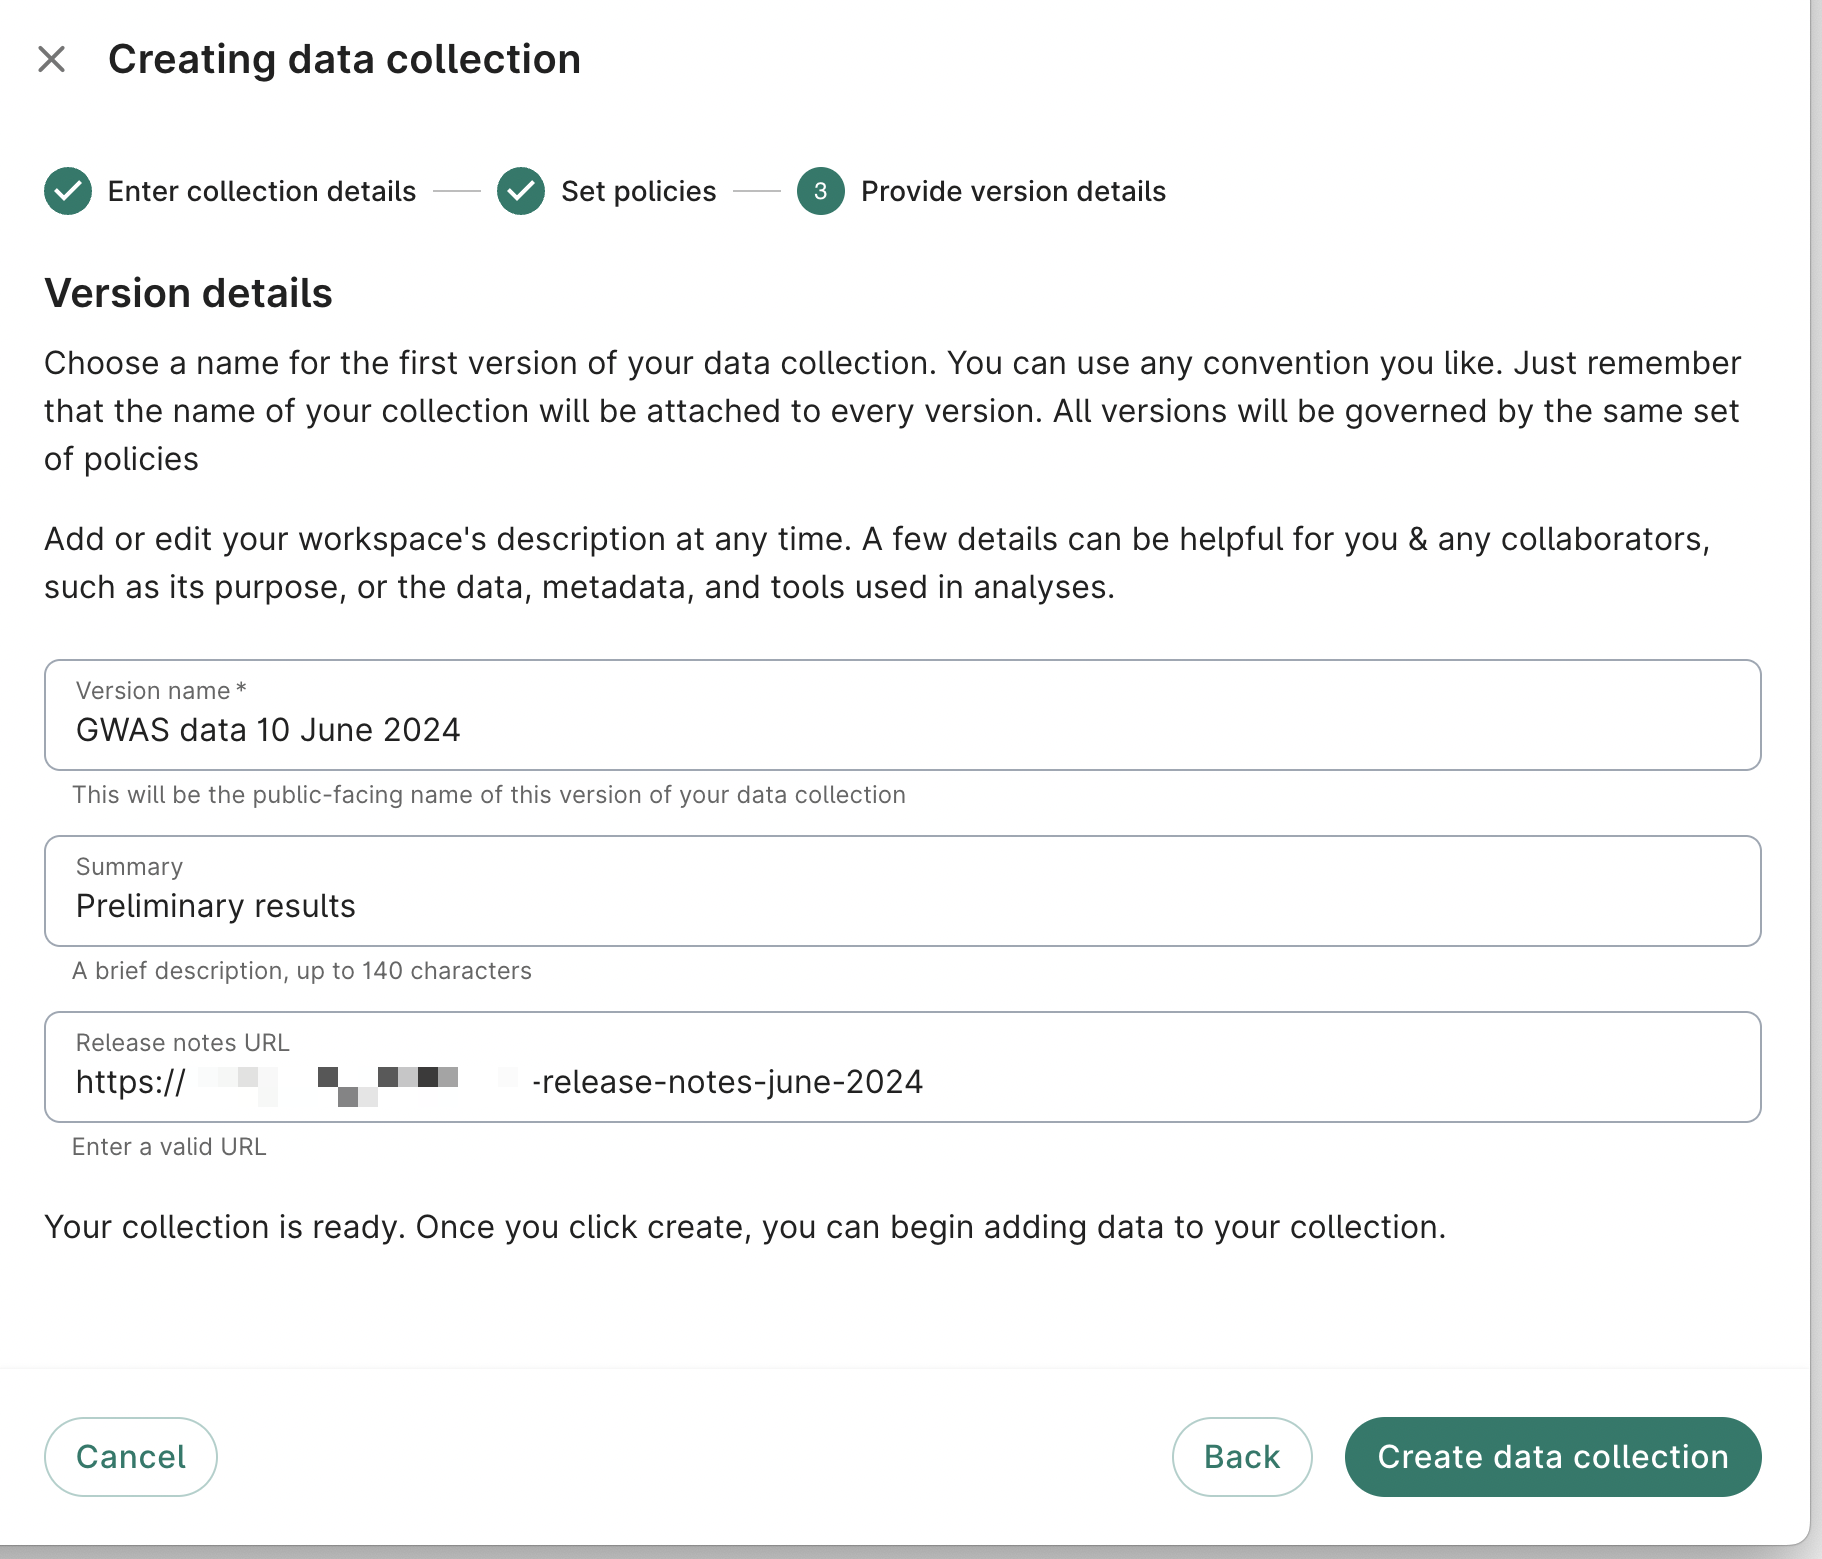
Note
Follow a naming convention for your data collection versions that ensures that each name is unique and easily understood by the researchers who will be exploring your data collections (e.g.,<data collection name> <date of data release>).
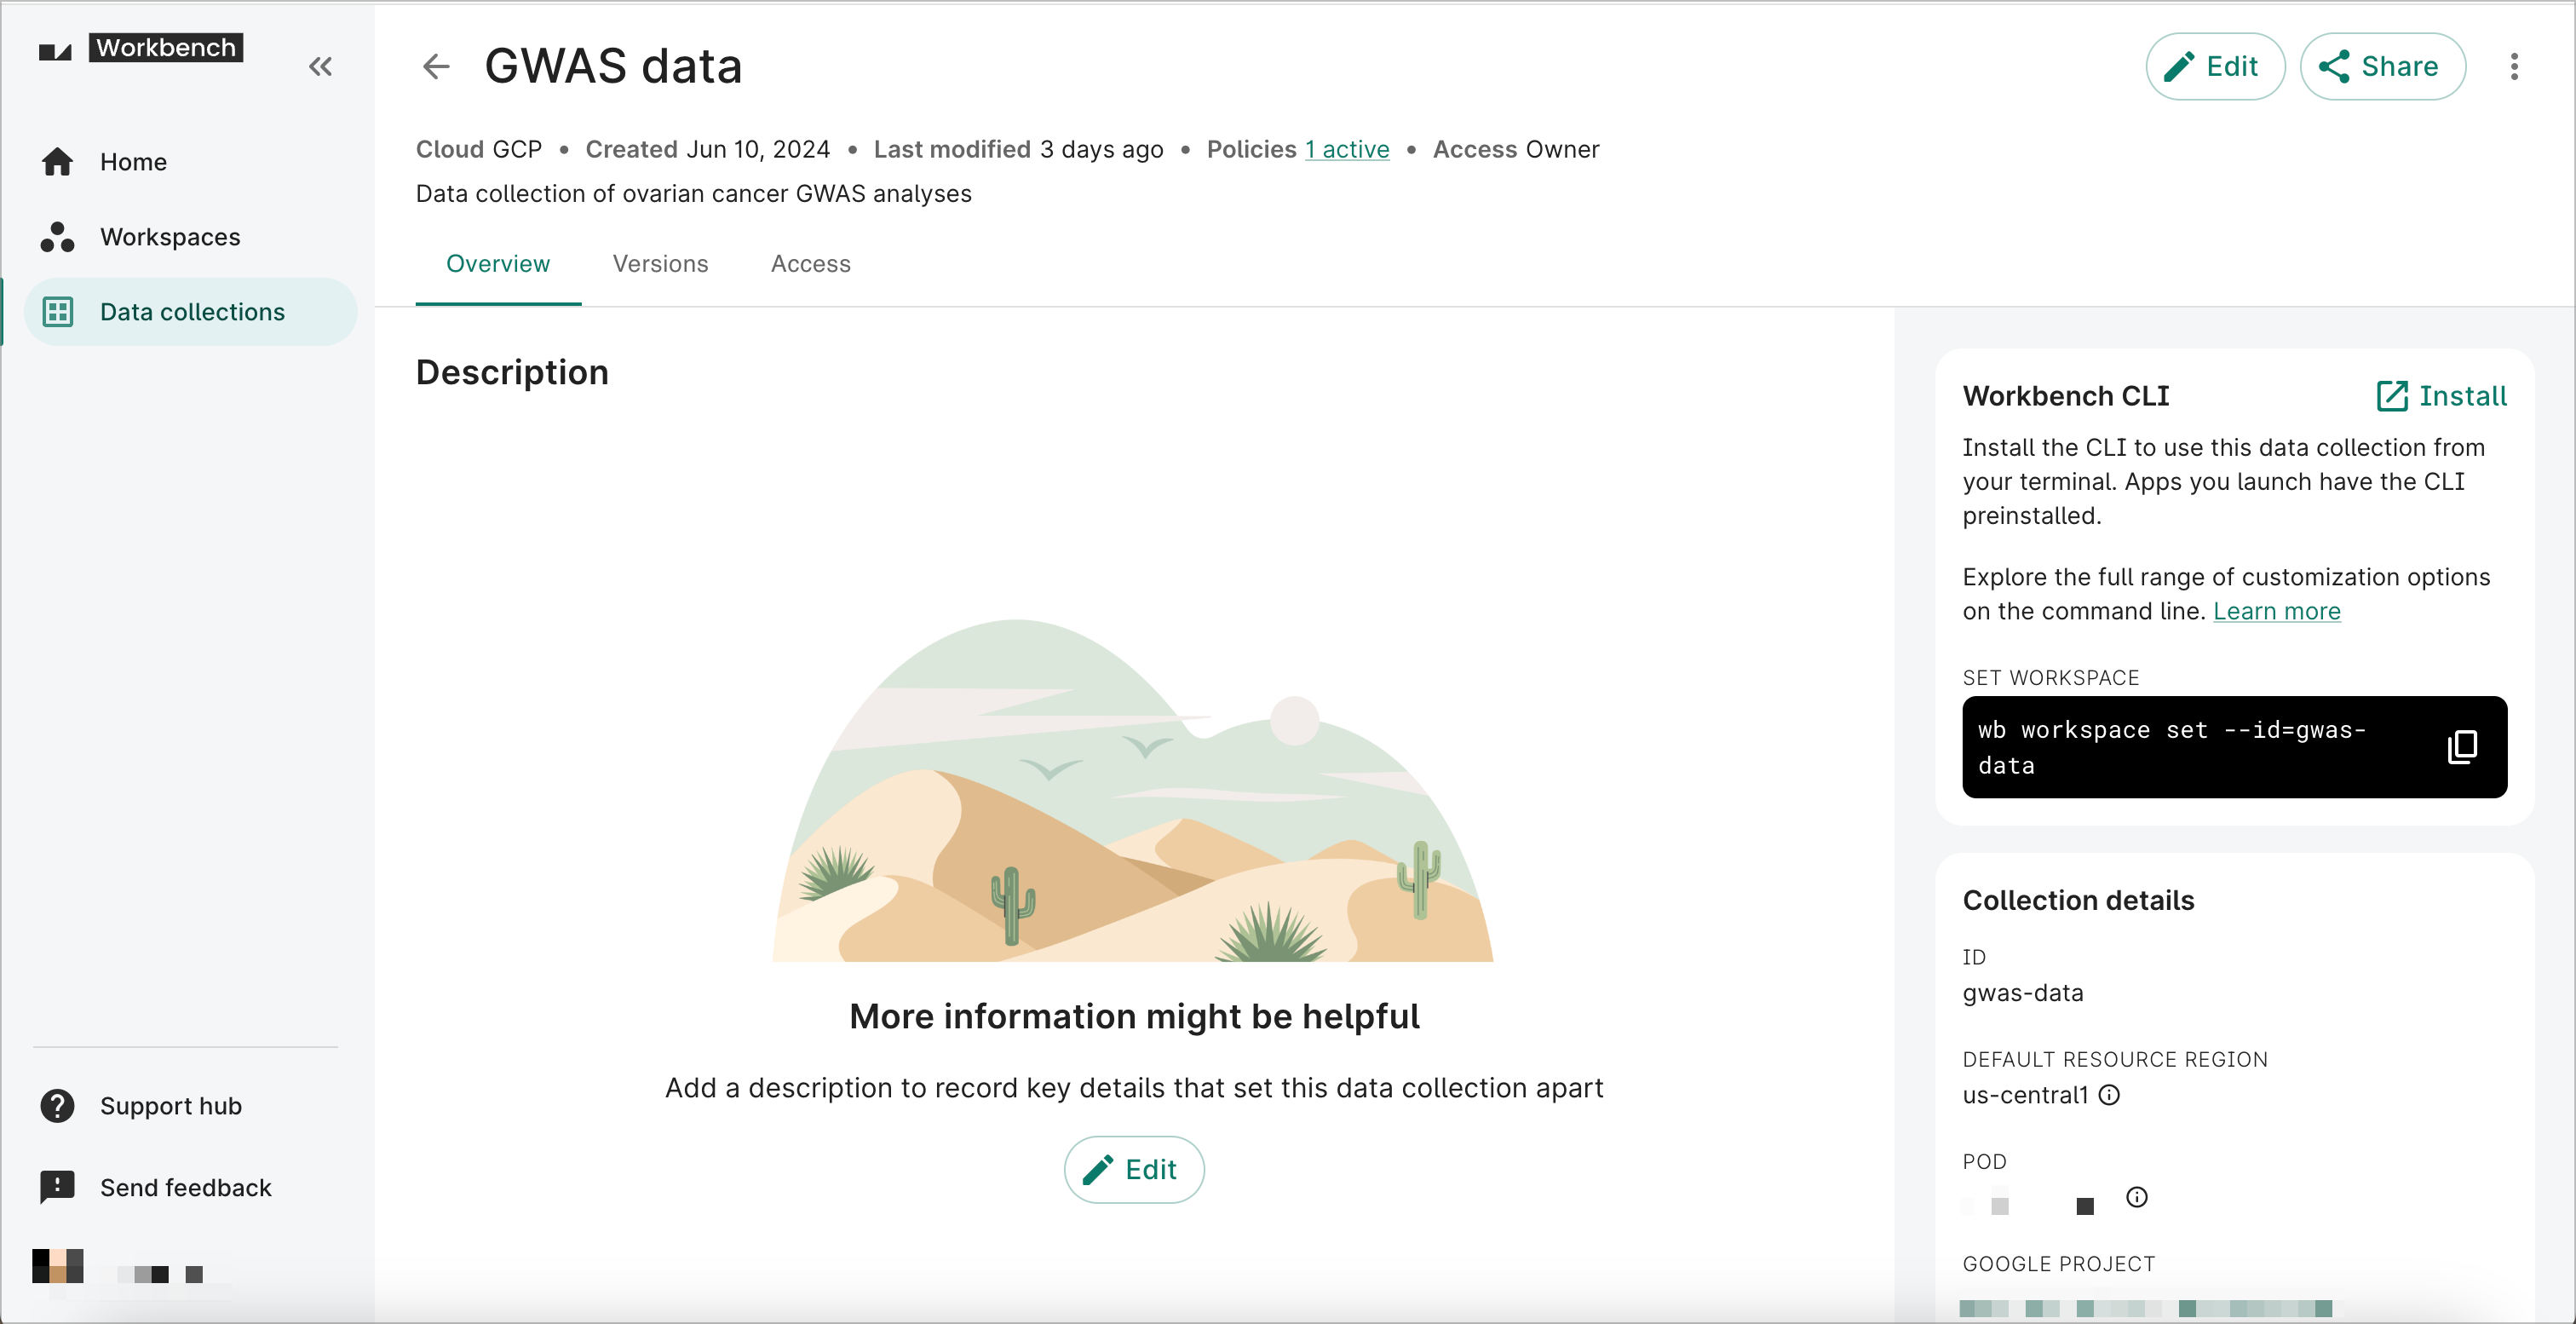
To finish creating your data collection and its first version, click the Create data collection button. It should take less than a minute for the system to create your data collection. Once it’s done, your browser will load your new data collection’s overview page.
Step 2: Add and organize resources to the data collection version
You can add controlled and referenced resources to your data collection version. These resources can be organized in folders.
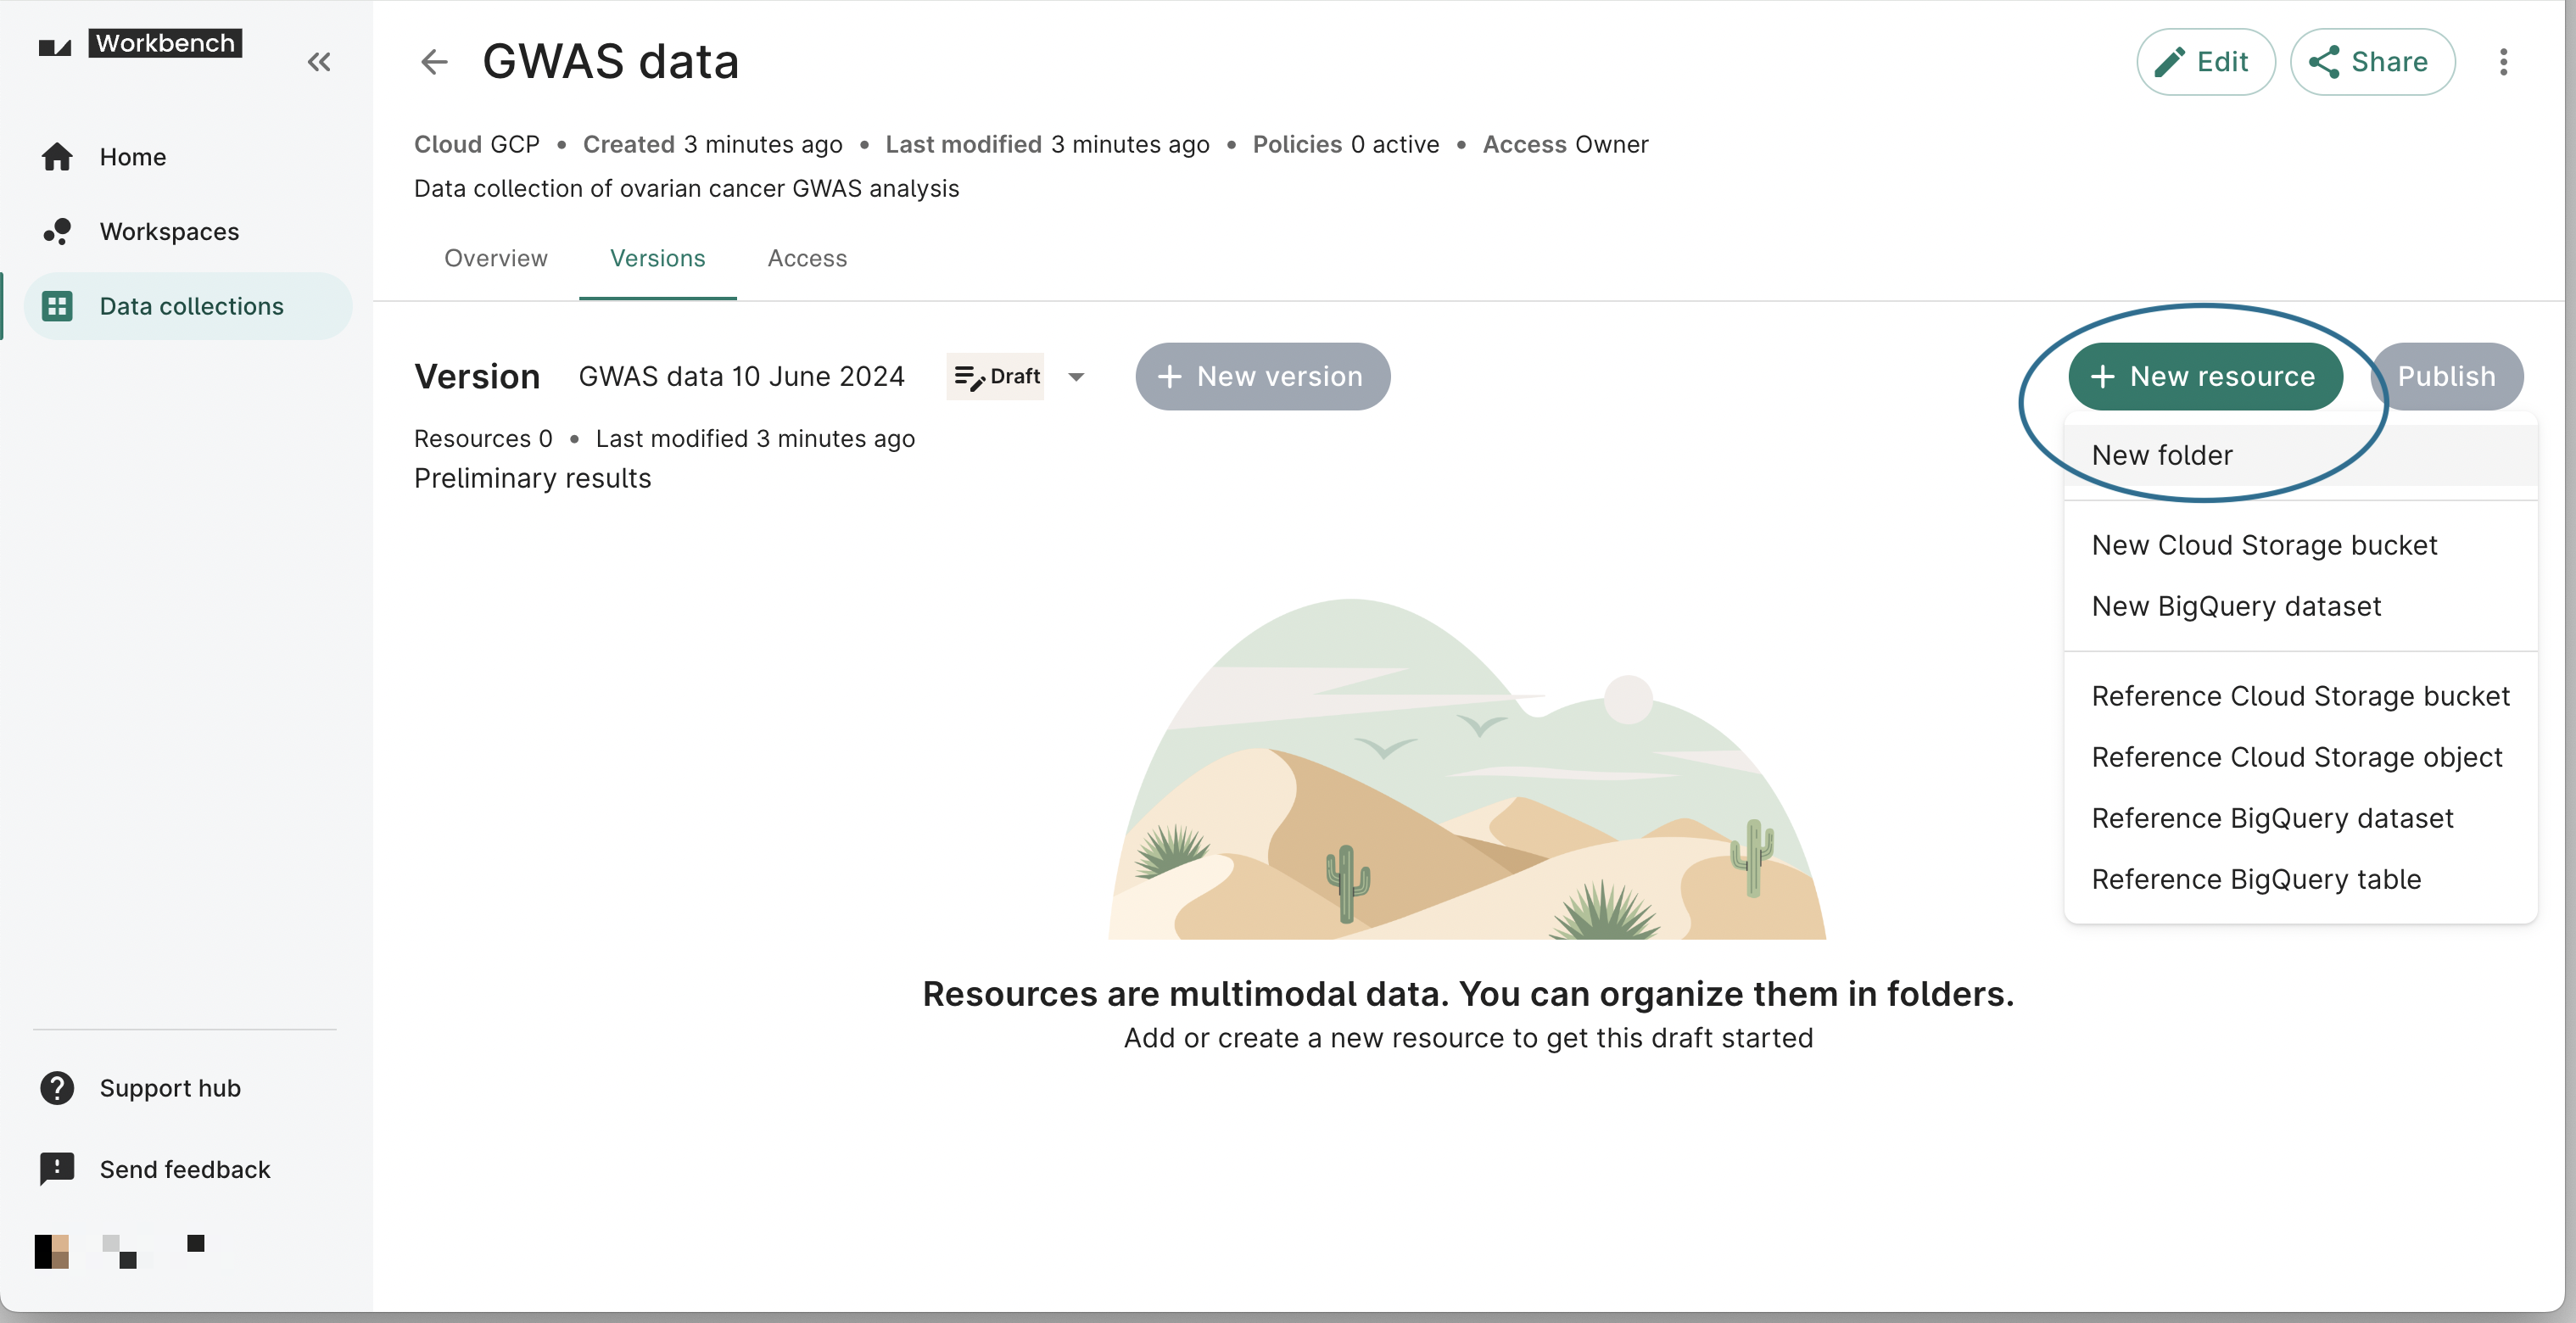
Click on the Versions tab on your data collection, then click the + New resource button. From the dropdown, click New folder.
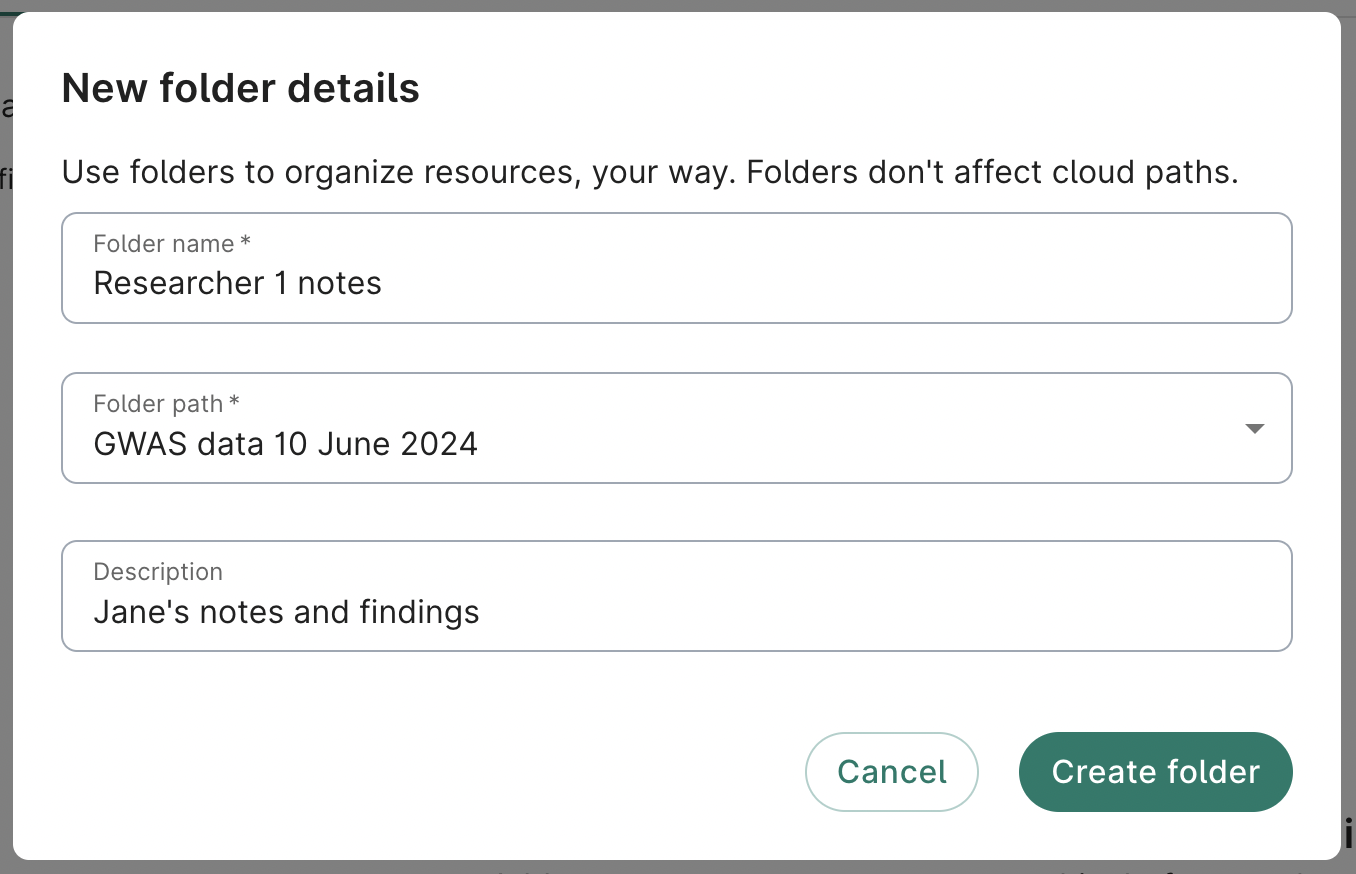
A New folder details dialog will open. Here, you can enter a folder name, select a folder path, and provide a description (optional). Click Create folder.
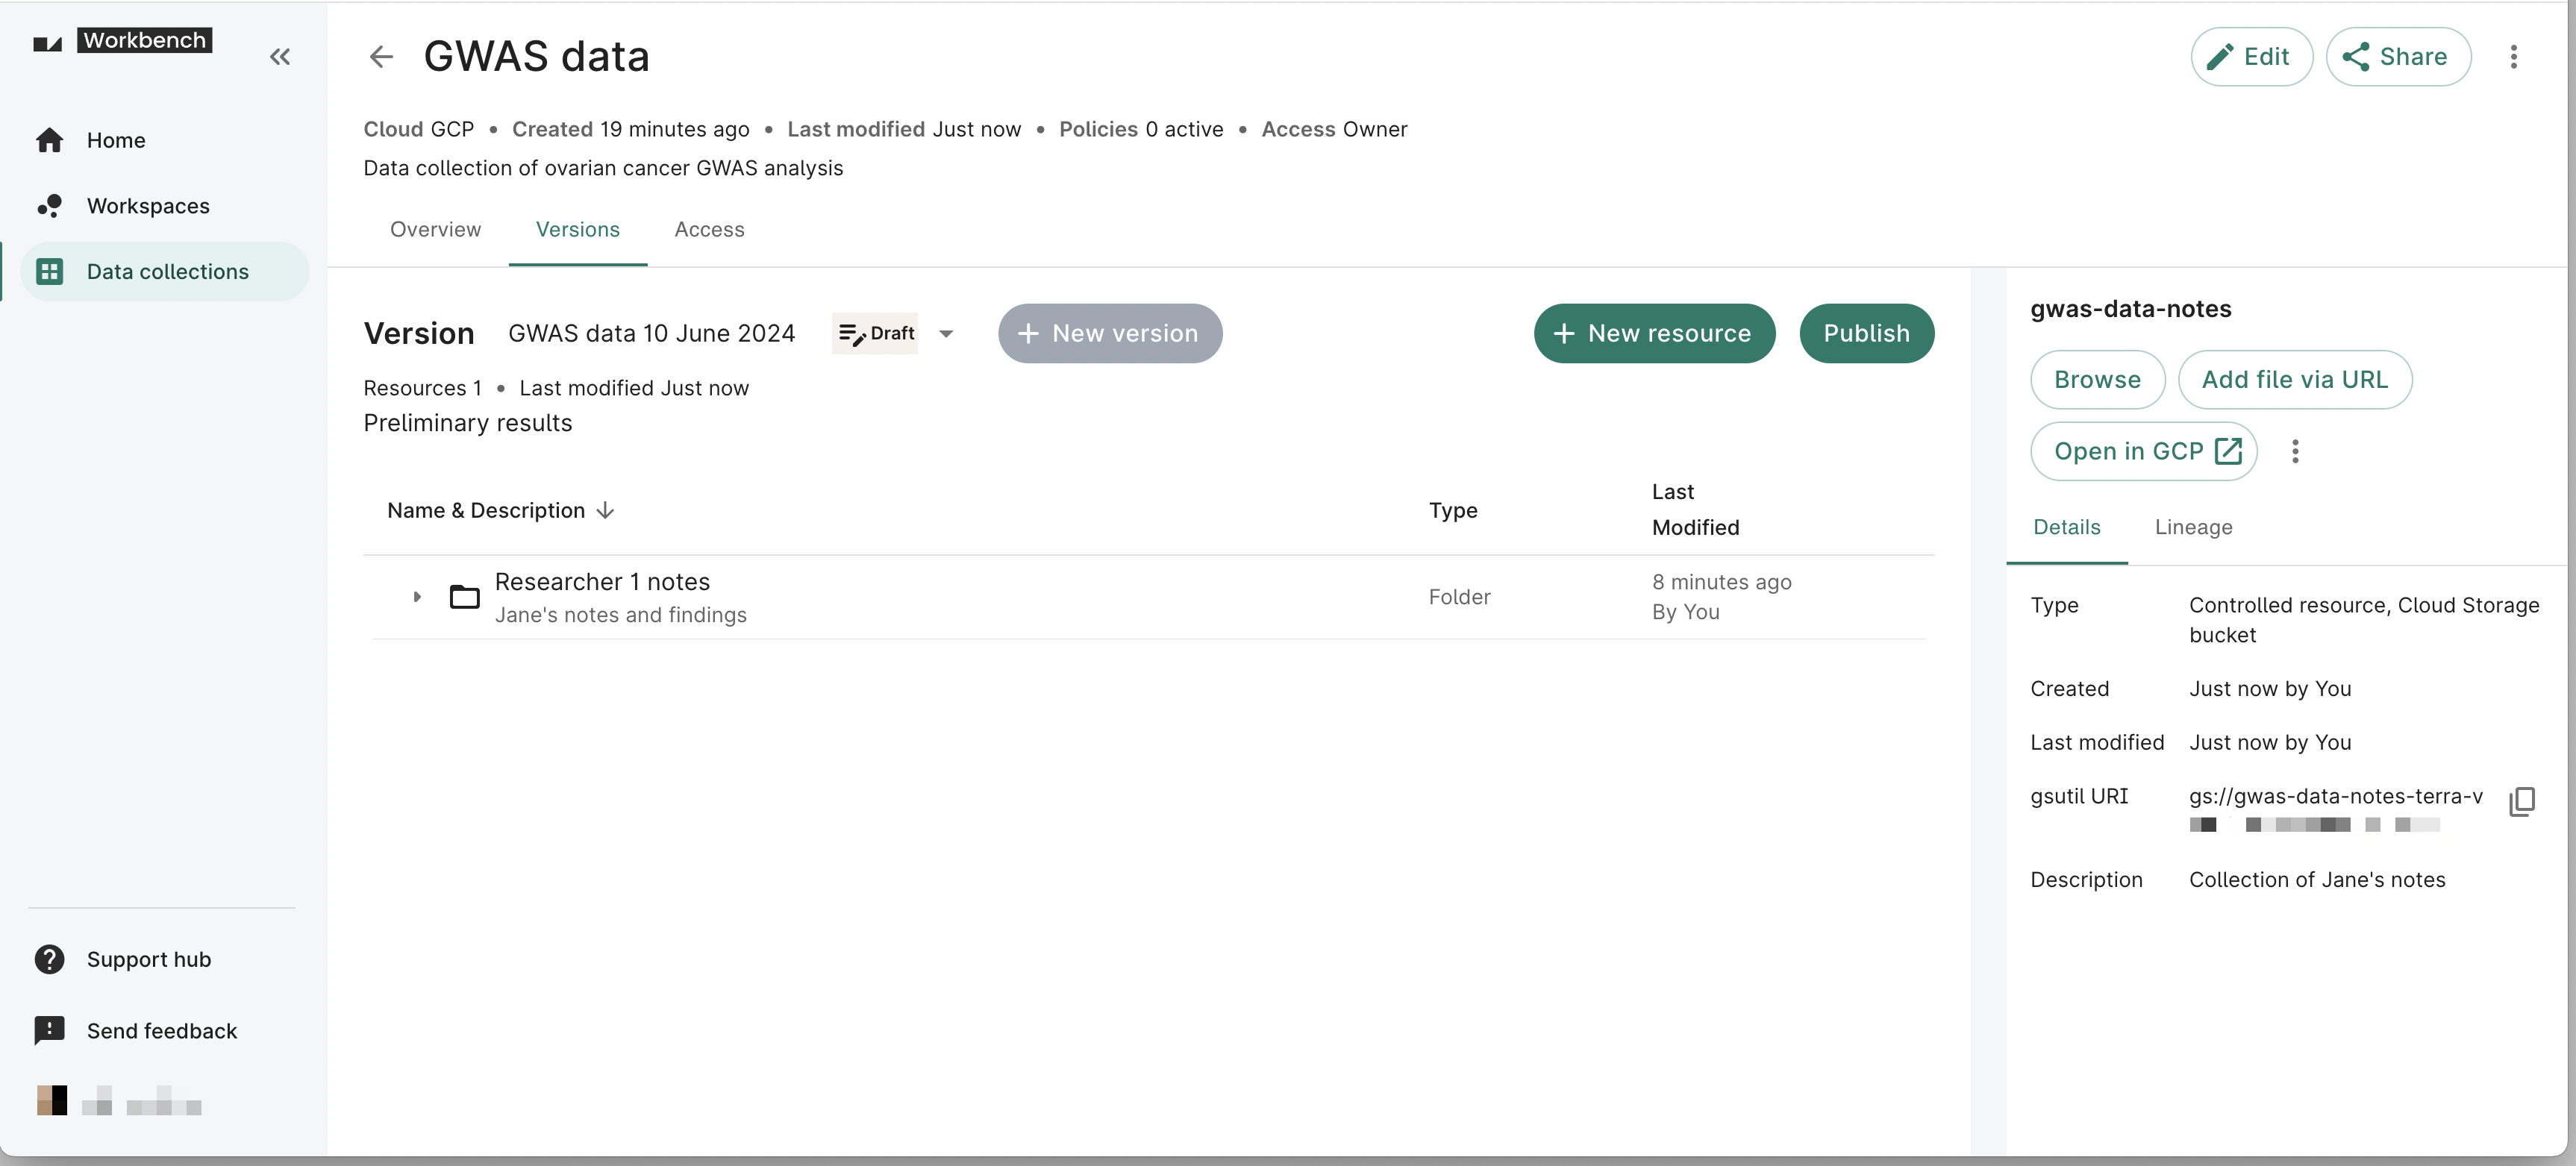
You should now see your new folder in the Versions tab. From here, you can edit the folder name and description, move the folder, or delete the folder.
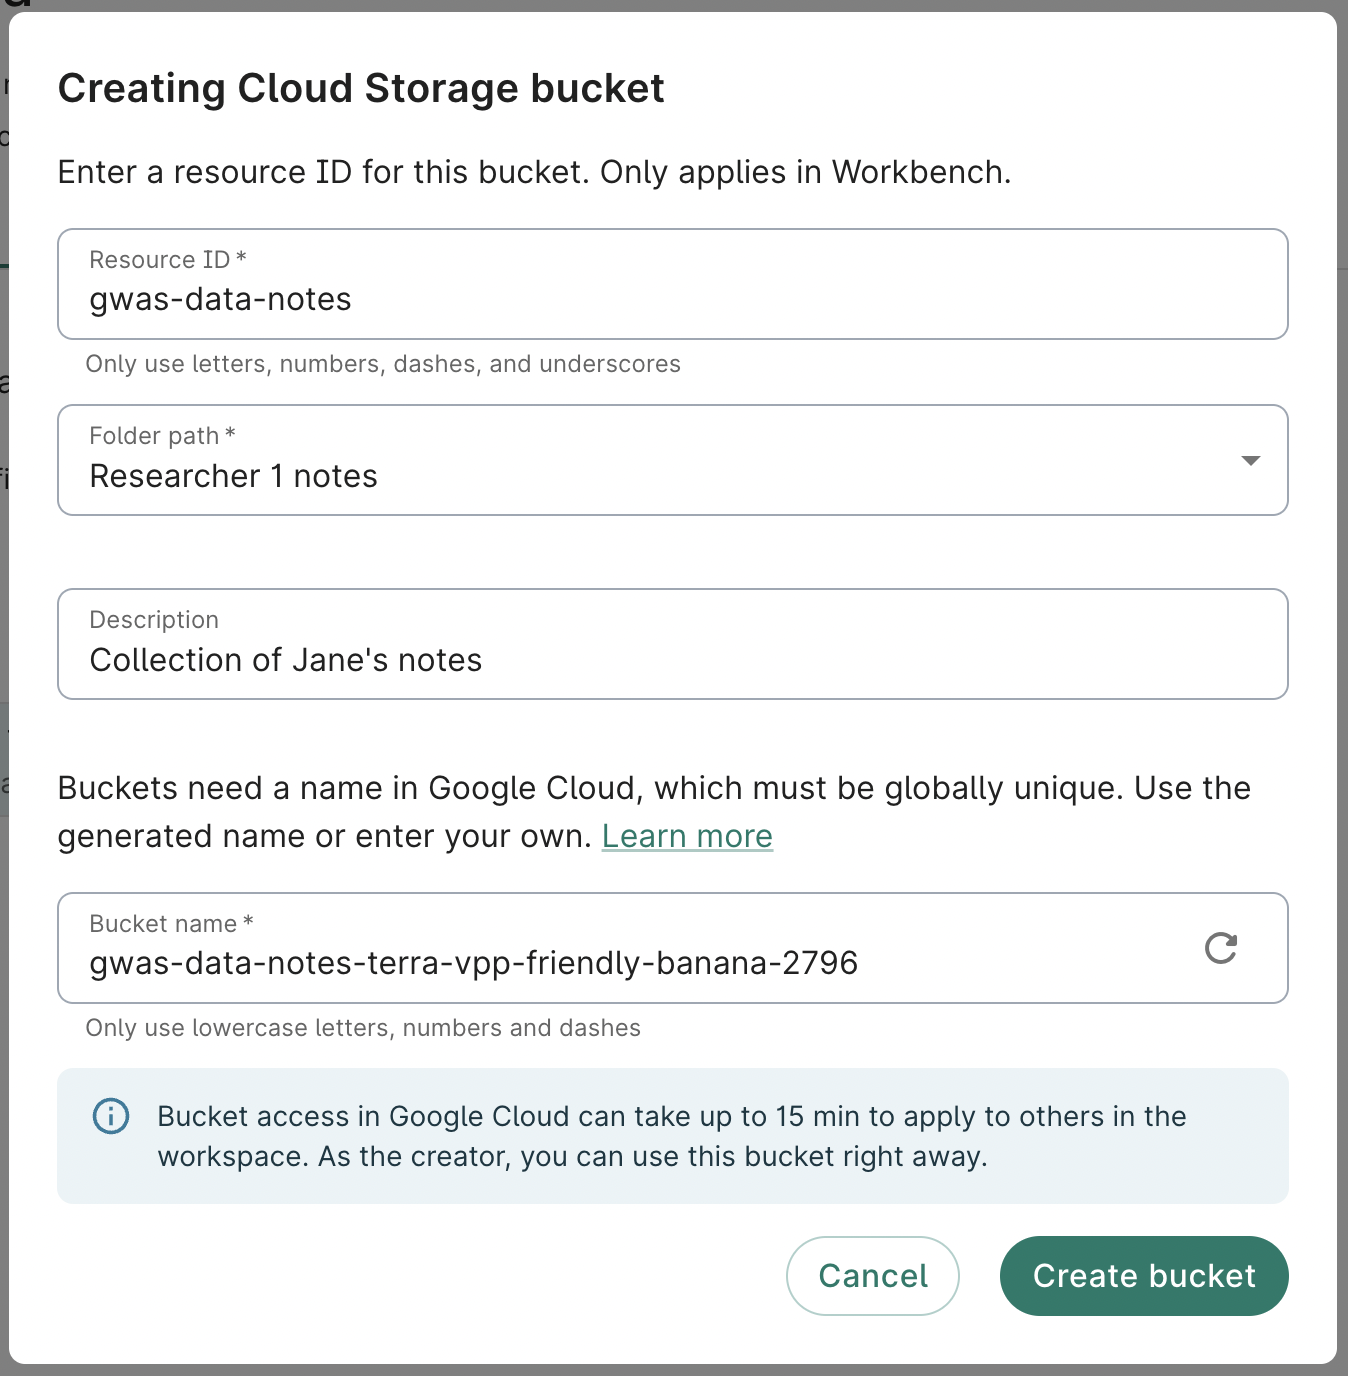
To add a resource, click the + New resource button and select the resource type you’d like to add. In the example below, we’ll add a Cloud Storage bucket.
You’ll be prompted to add a resource ID and an optional description. The bucket name will be prefilled based on your resource ID, but you can change it if you wish. You can also select the folder path for the resource. Click Create bucket.
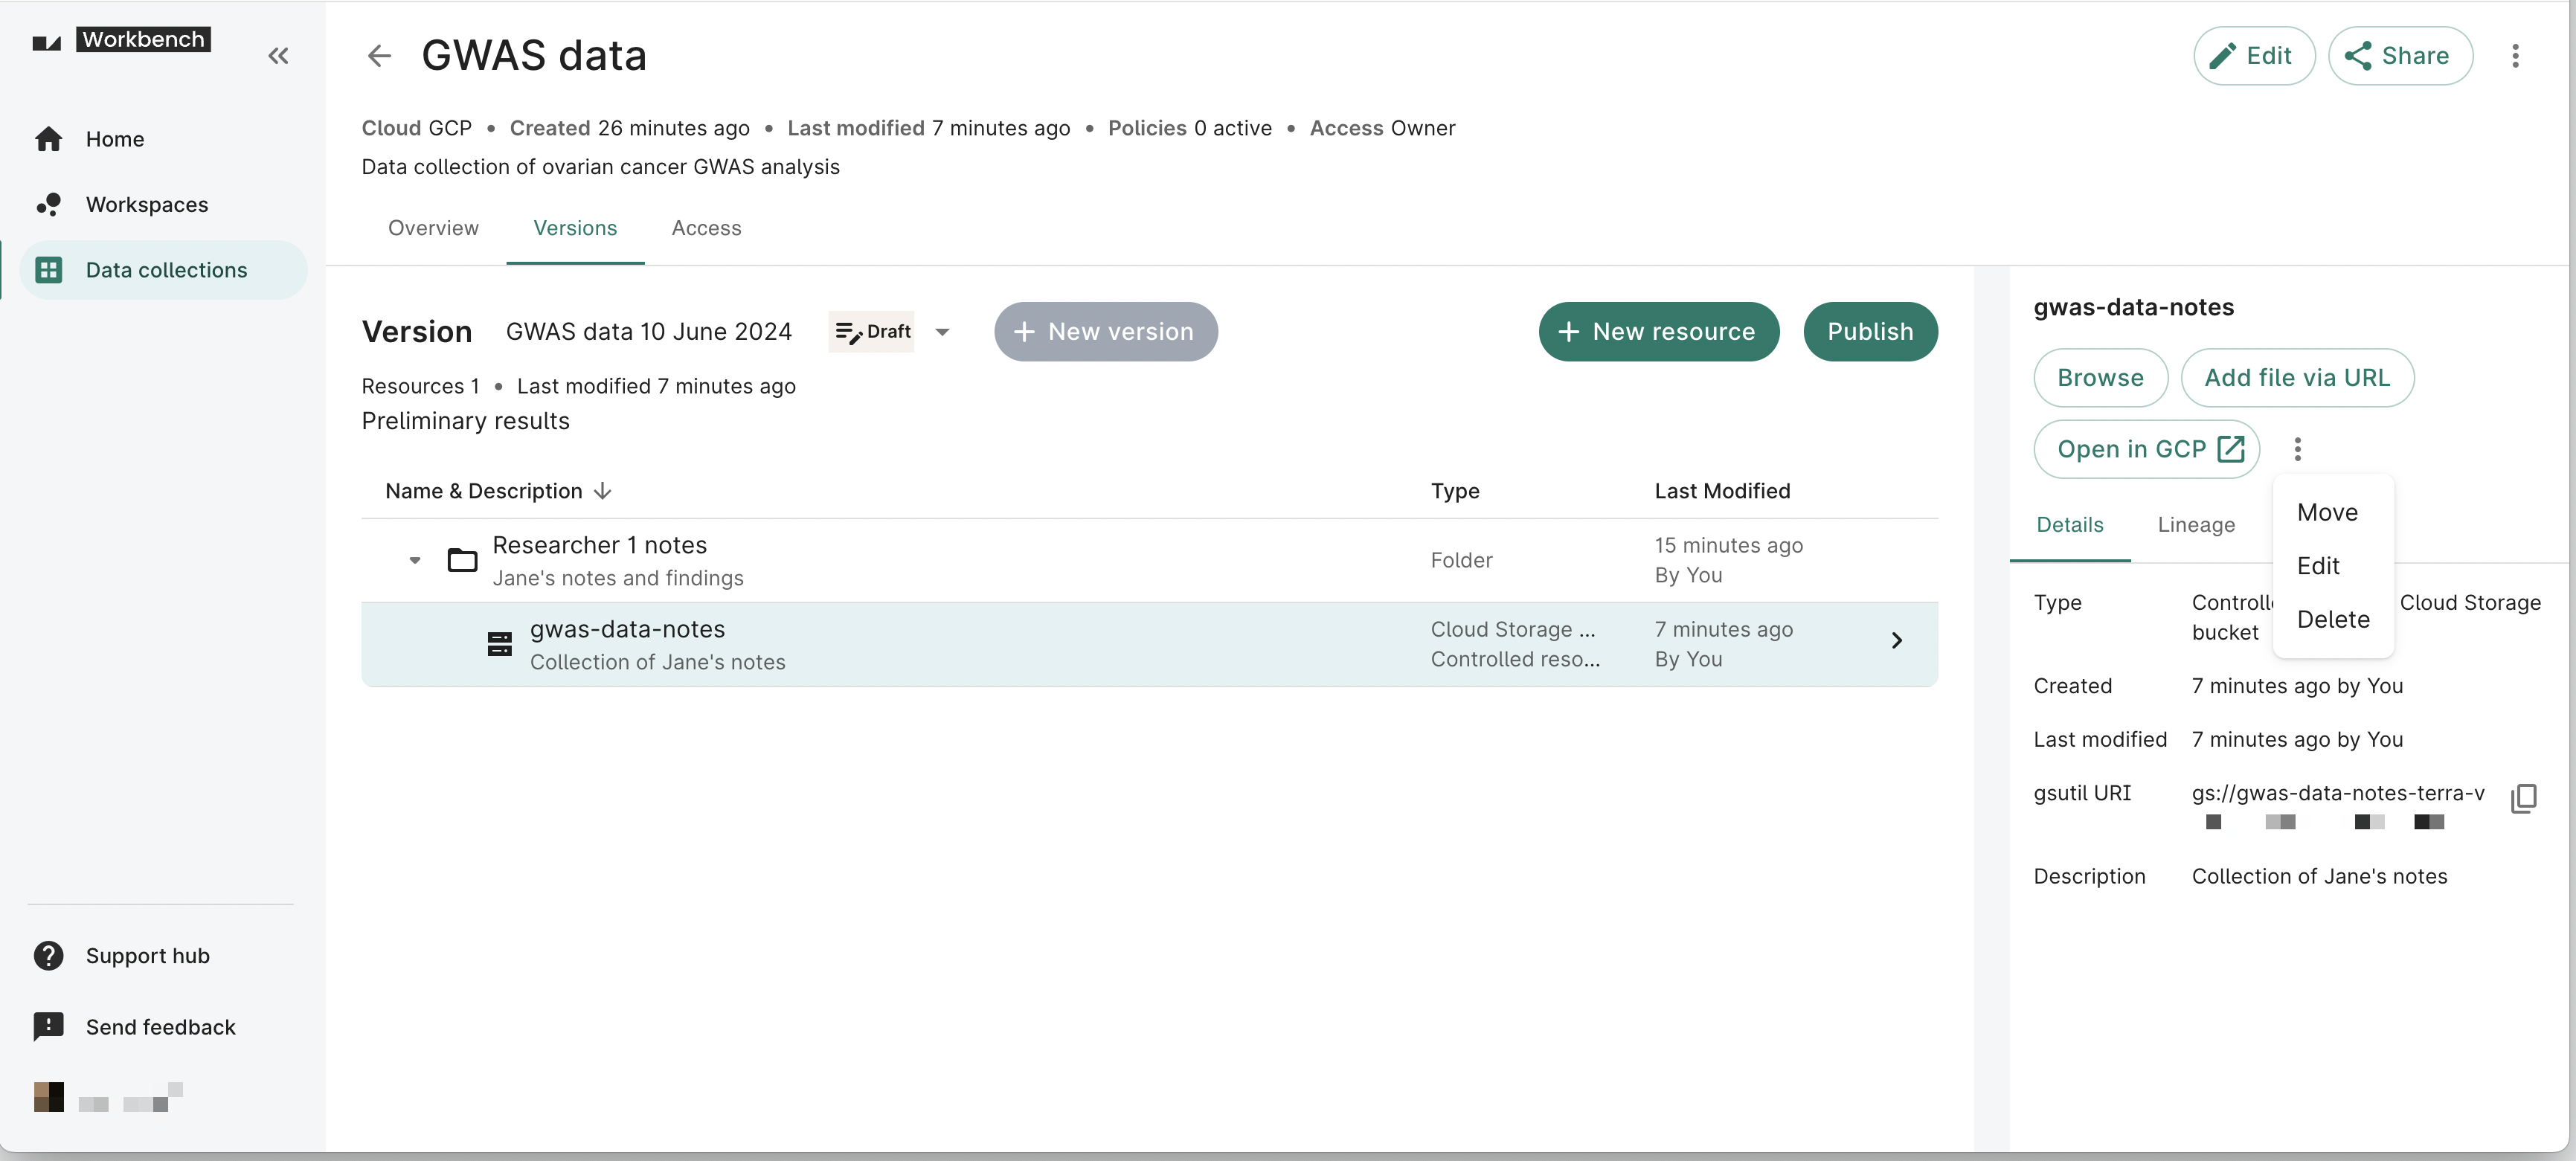
Once the bucket is created, it will be listed in the Versions tab. You can click on the bucket name to view additional details such as the gsutil URI and description. In addition, you can browse the bucket’s contents; add a file to the bucket via URL; open the bucket in GCP; and move, edit, or delete the bucket.
Step 3: Share your data collection and manage access
You can invite collaborators to edit your data collection and grant appropriate access to users. For more details about sharing and the various access levels, see Manage access to data collections.
Step 4: Publish your data collection
Once your data collection is ready for others to access, you can publish it.
Click on the Versions tab on the Data collections page, then click on the Publish button. A dialog will prompt you to review the details of the data collection version you wish to publish. You can edit the Version details and confirm the policies and resources associated with the version. If everything looks OK, tick the I’m ready box and click Publish version. Users will now be able to view the published versions in the data collection in the data catalog in their workspace.
Note
Users can still technically view draft versions through the CLI. See this page for more details.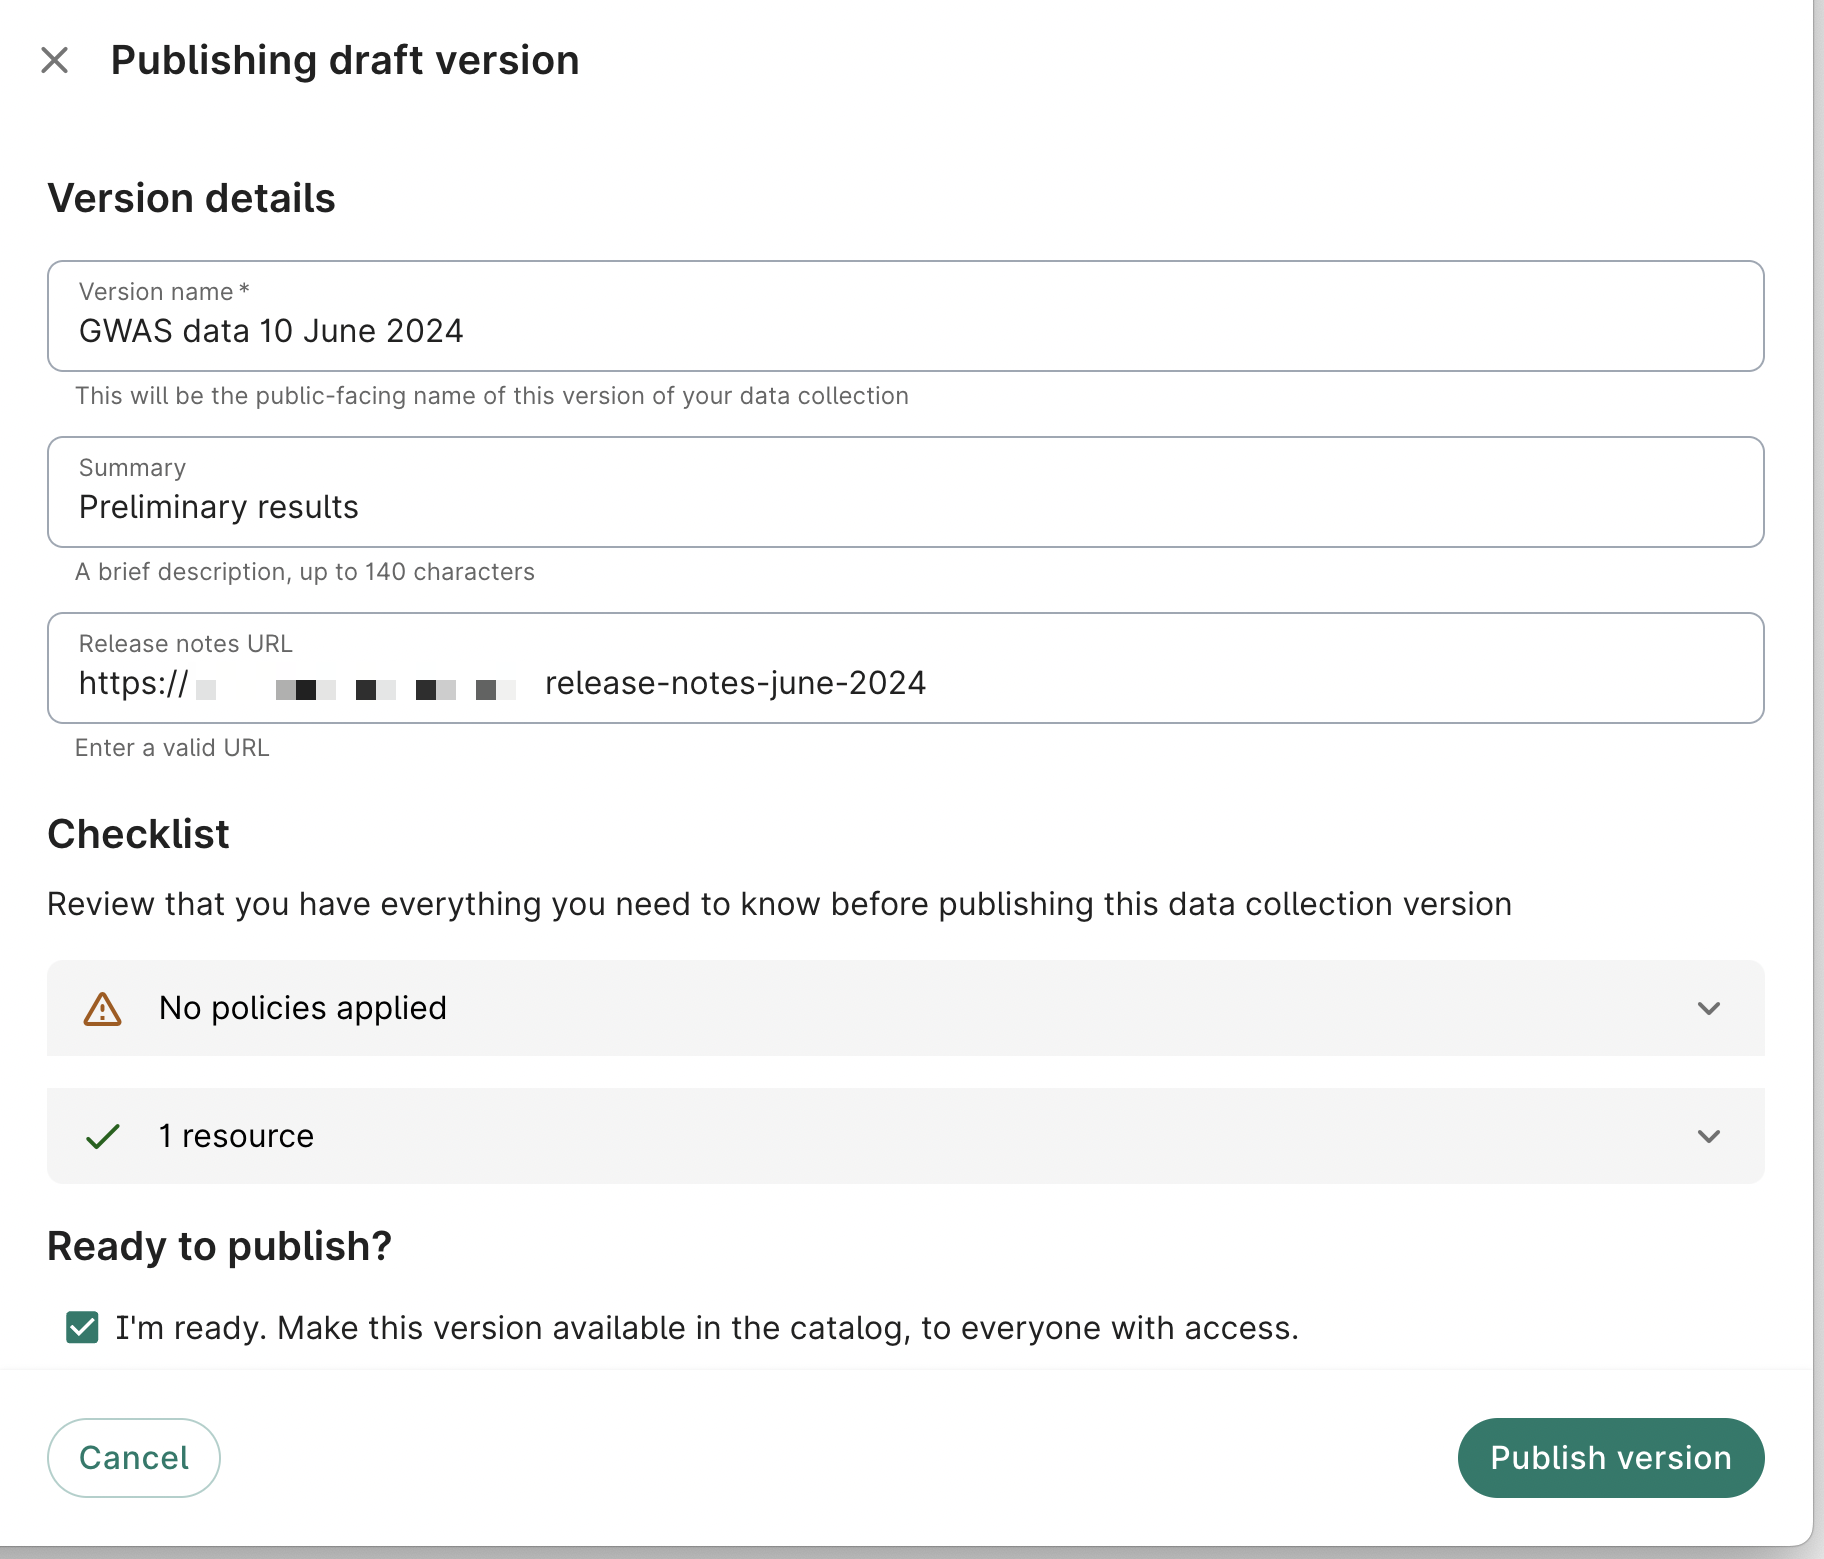
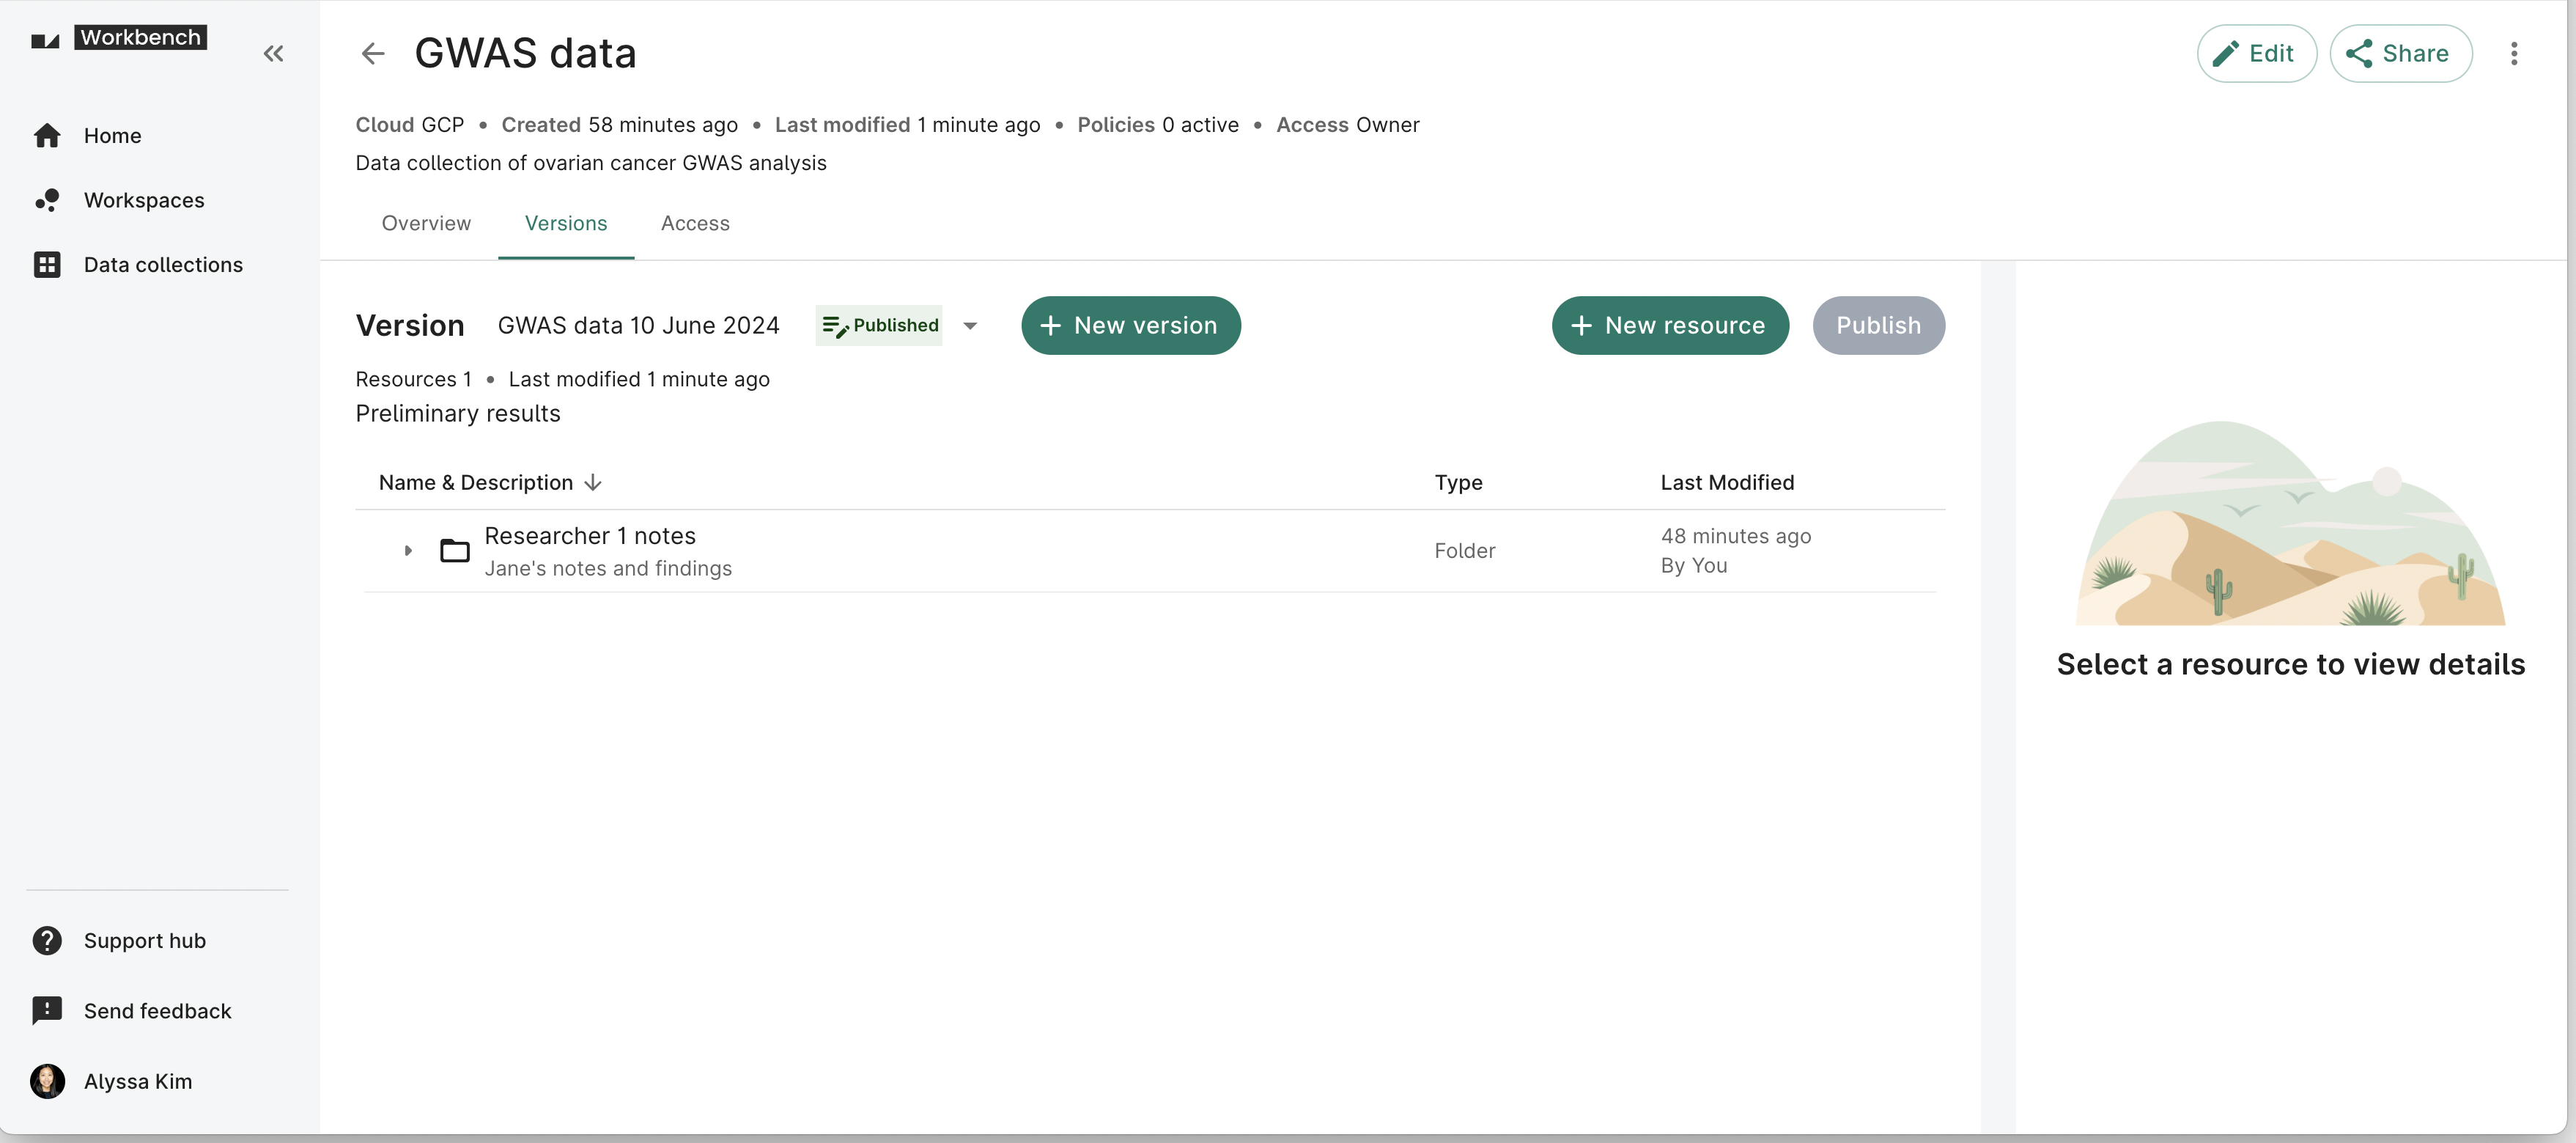
You’ll see a message saying that the version was published. You'll also be able to click the + New version button to create a new draft data collection version.
Note
You can also set up your data collections to be instantly accessible by users who agree to data use agreement terms. Please contact Workbench support to learn more.Edit your data collection
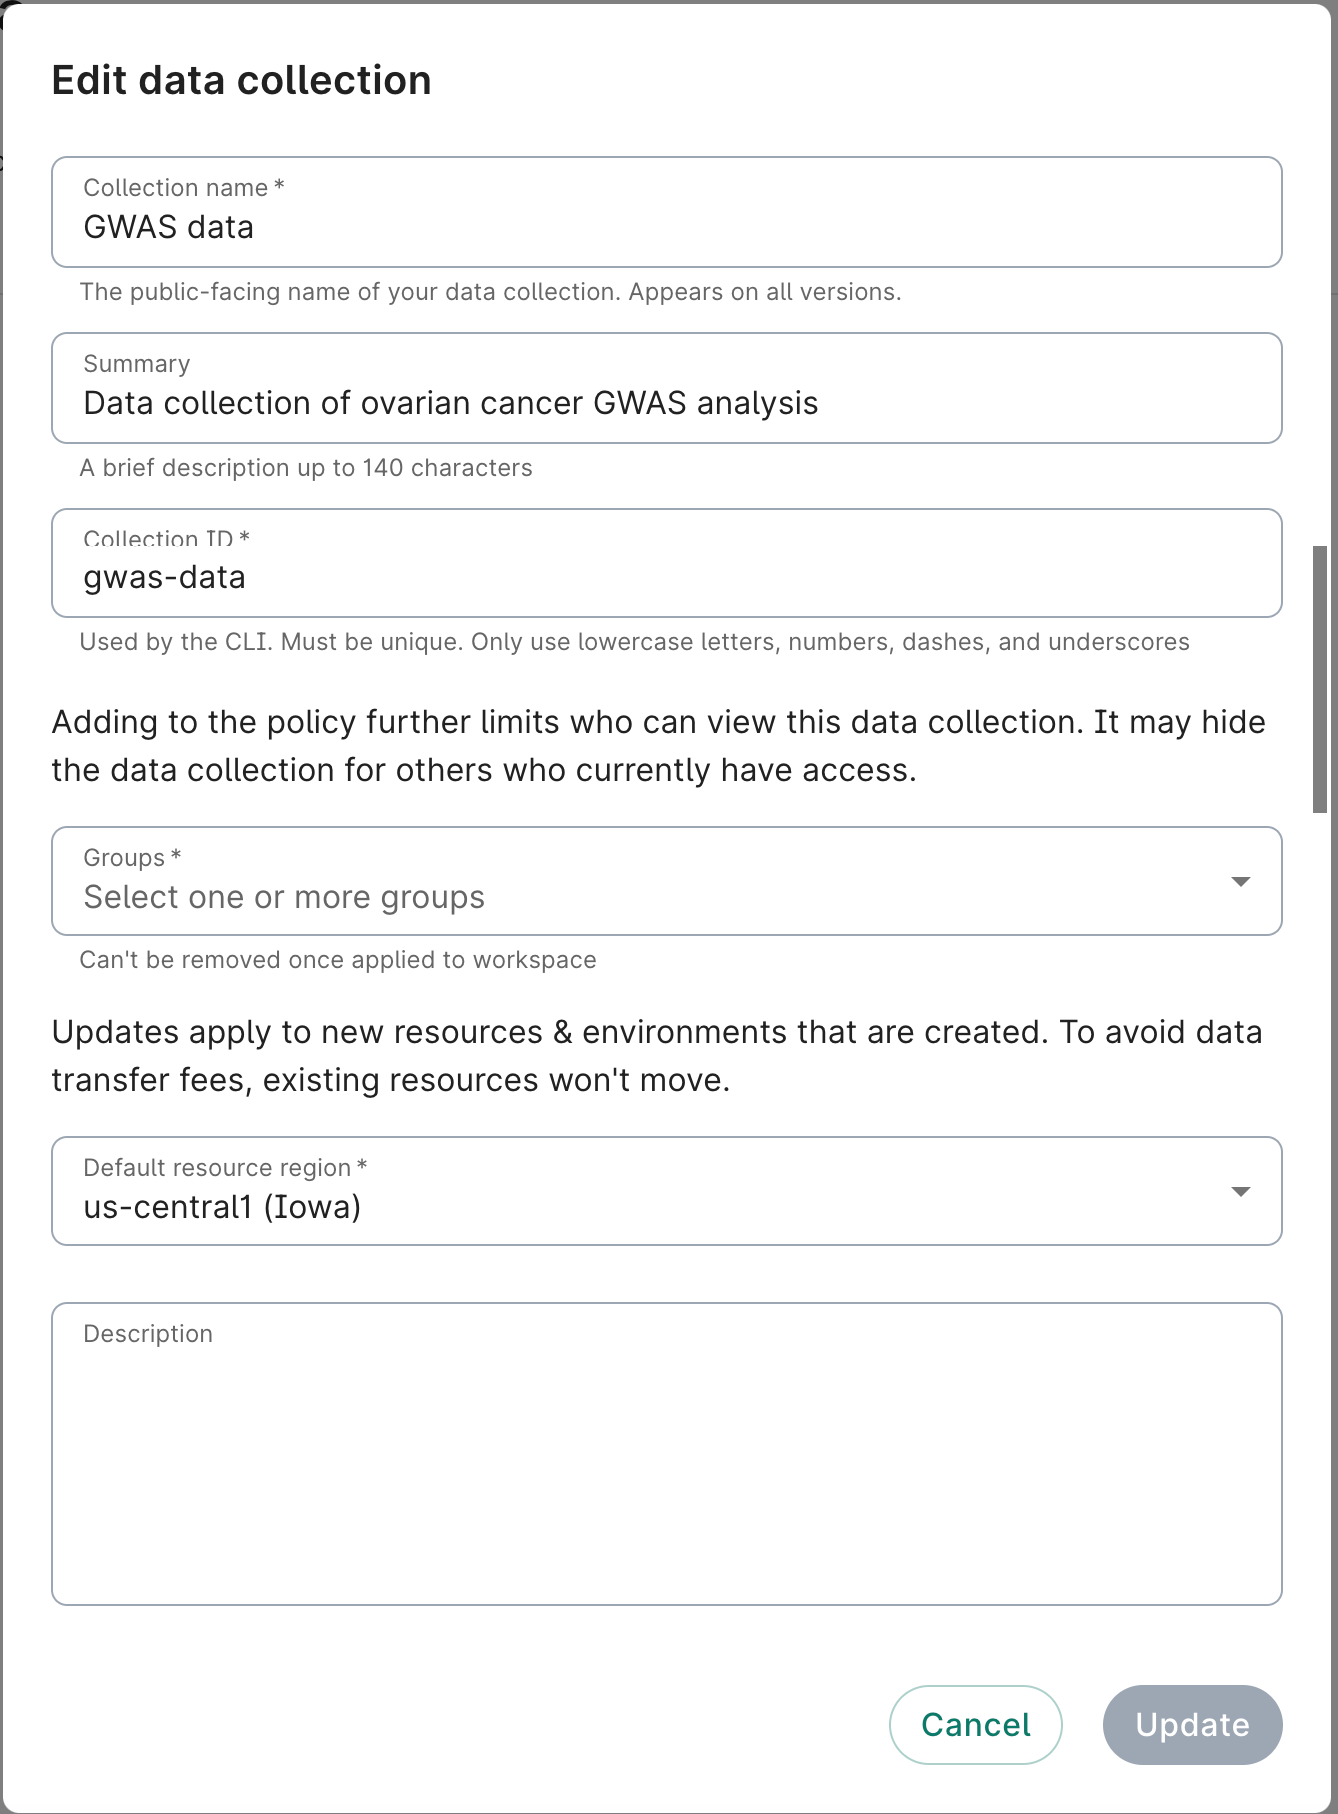
To change your data collection’s settings, click the Edit button.
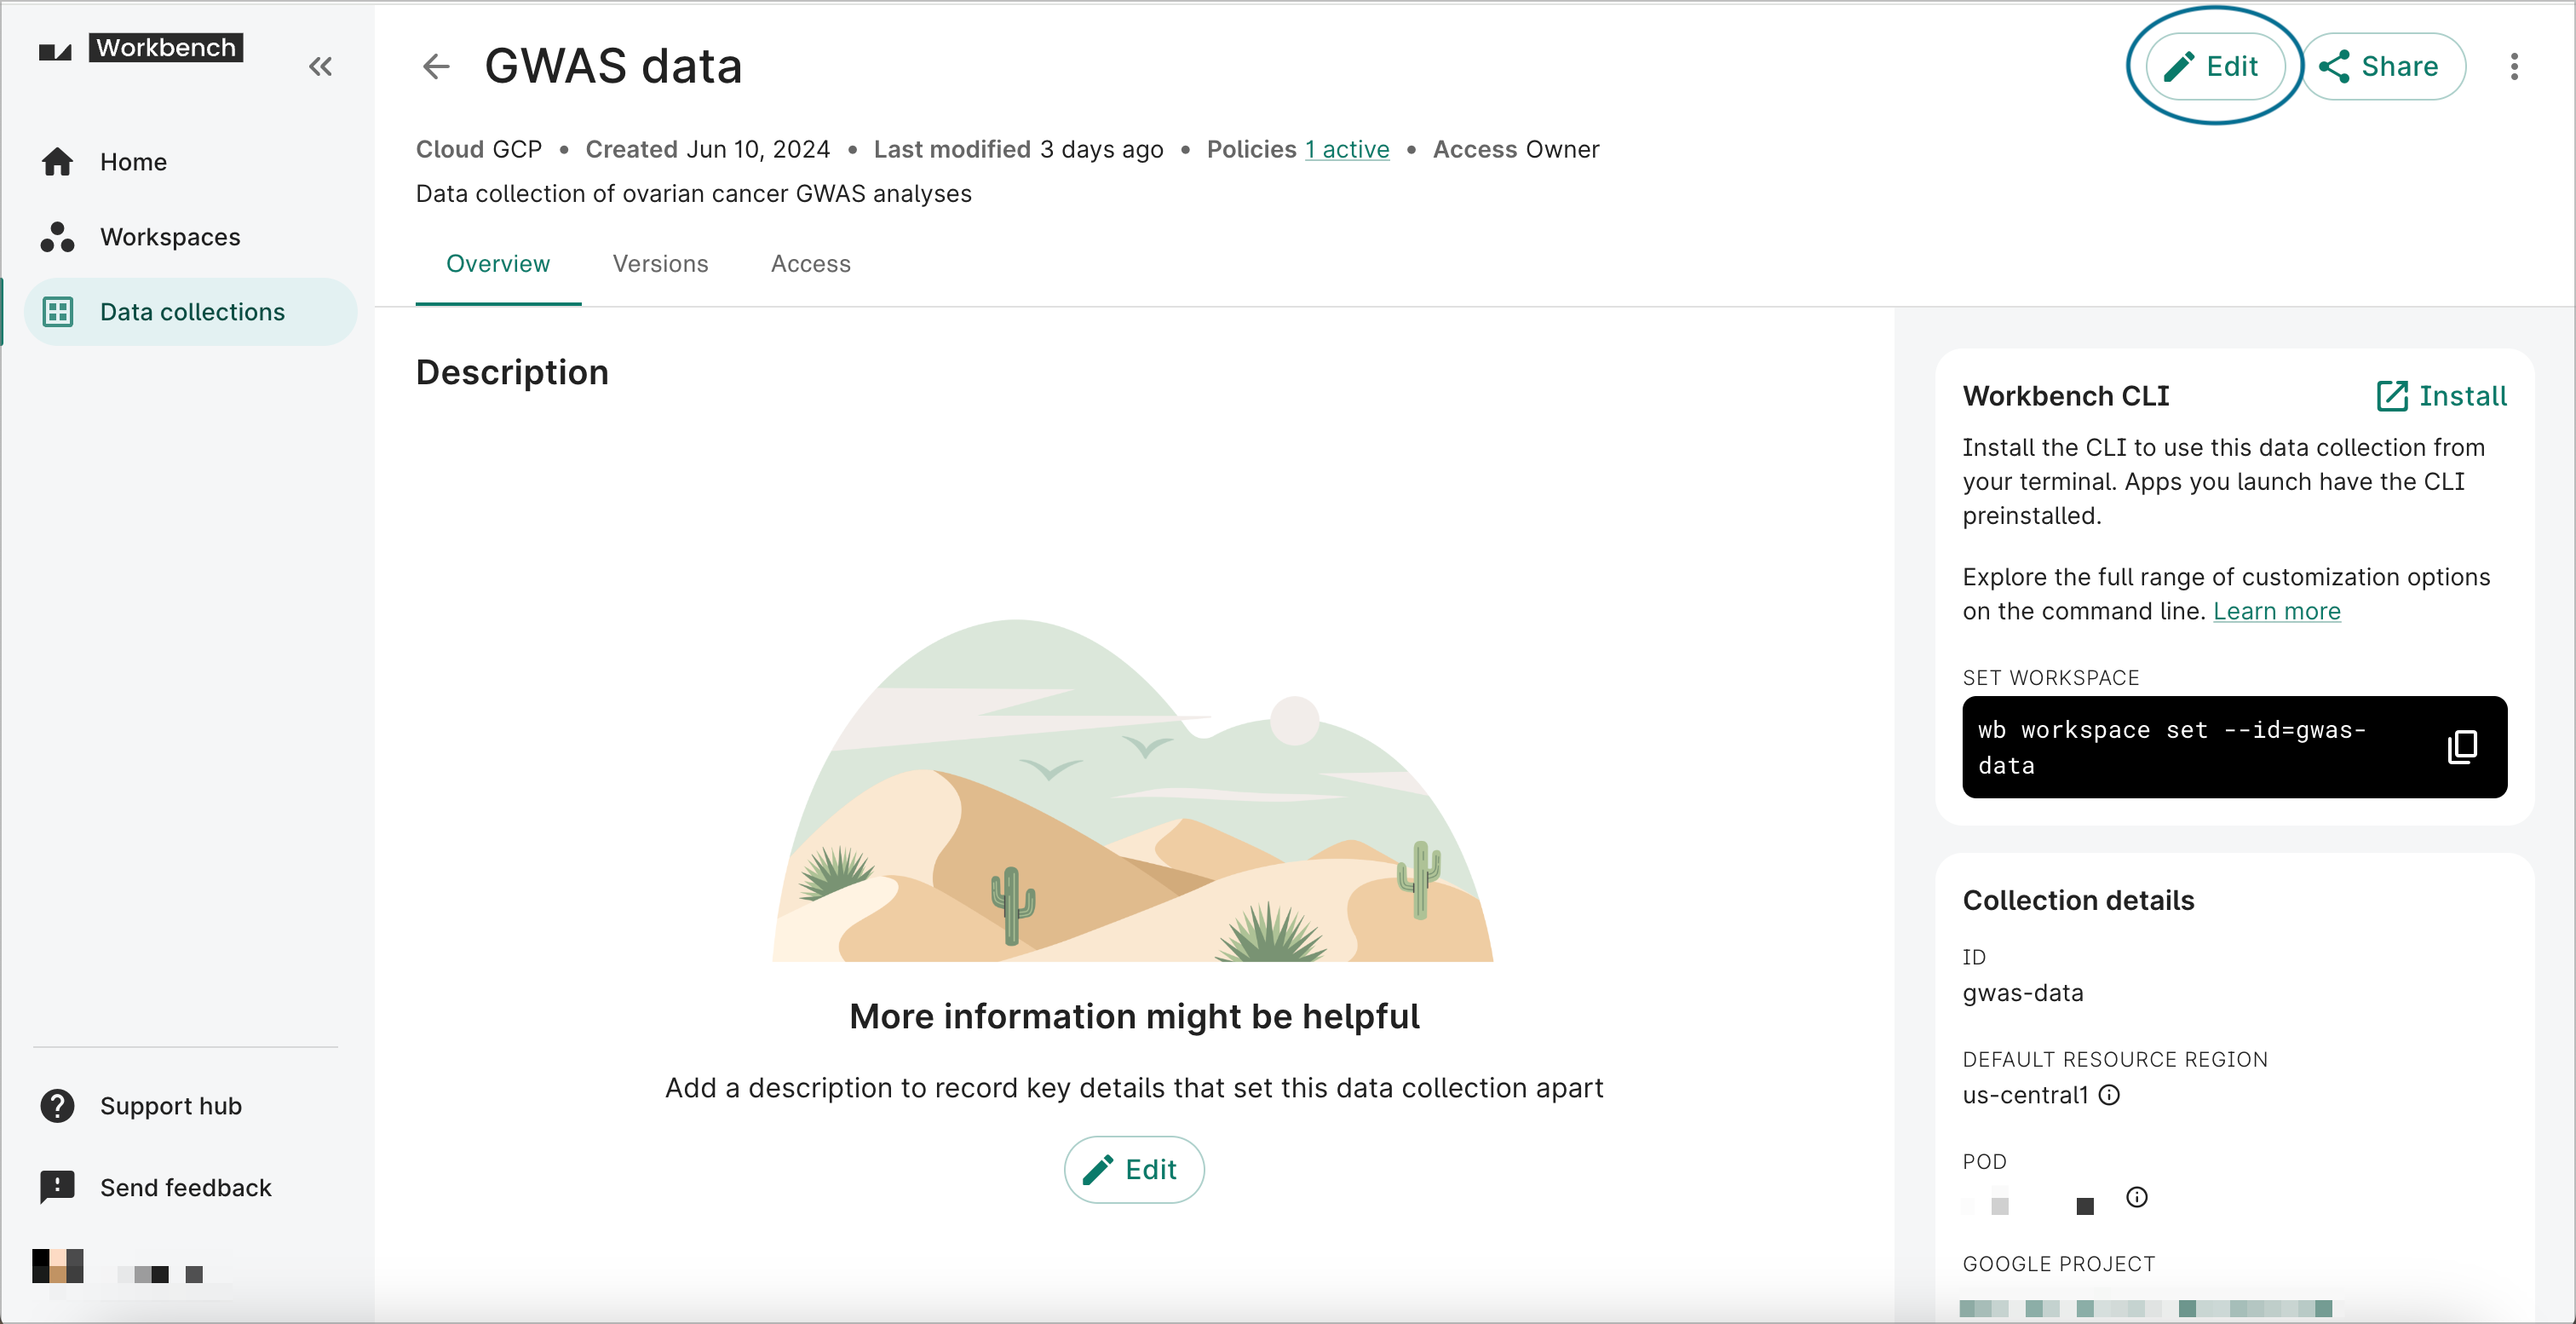
You can update the data collection’s name, summary, ID, and description. You can add policies to further limit your collection’s visibility; this could impact existing collaborators and users who have access to your data collection. You can also change the resource region; changes will apply to new resources and apps. Tags and publisher information can also be updated.
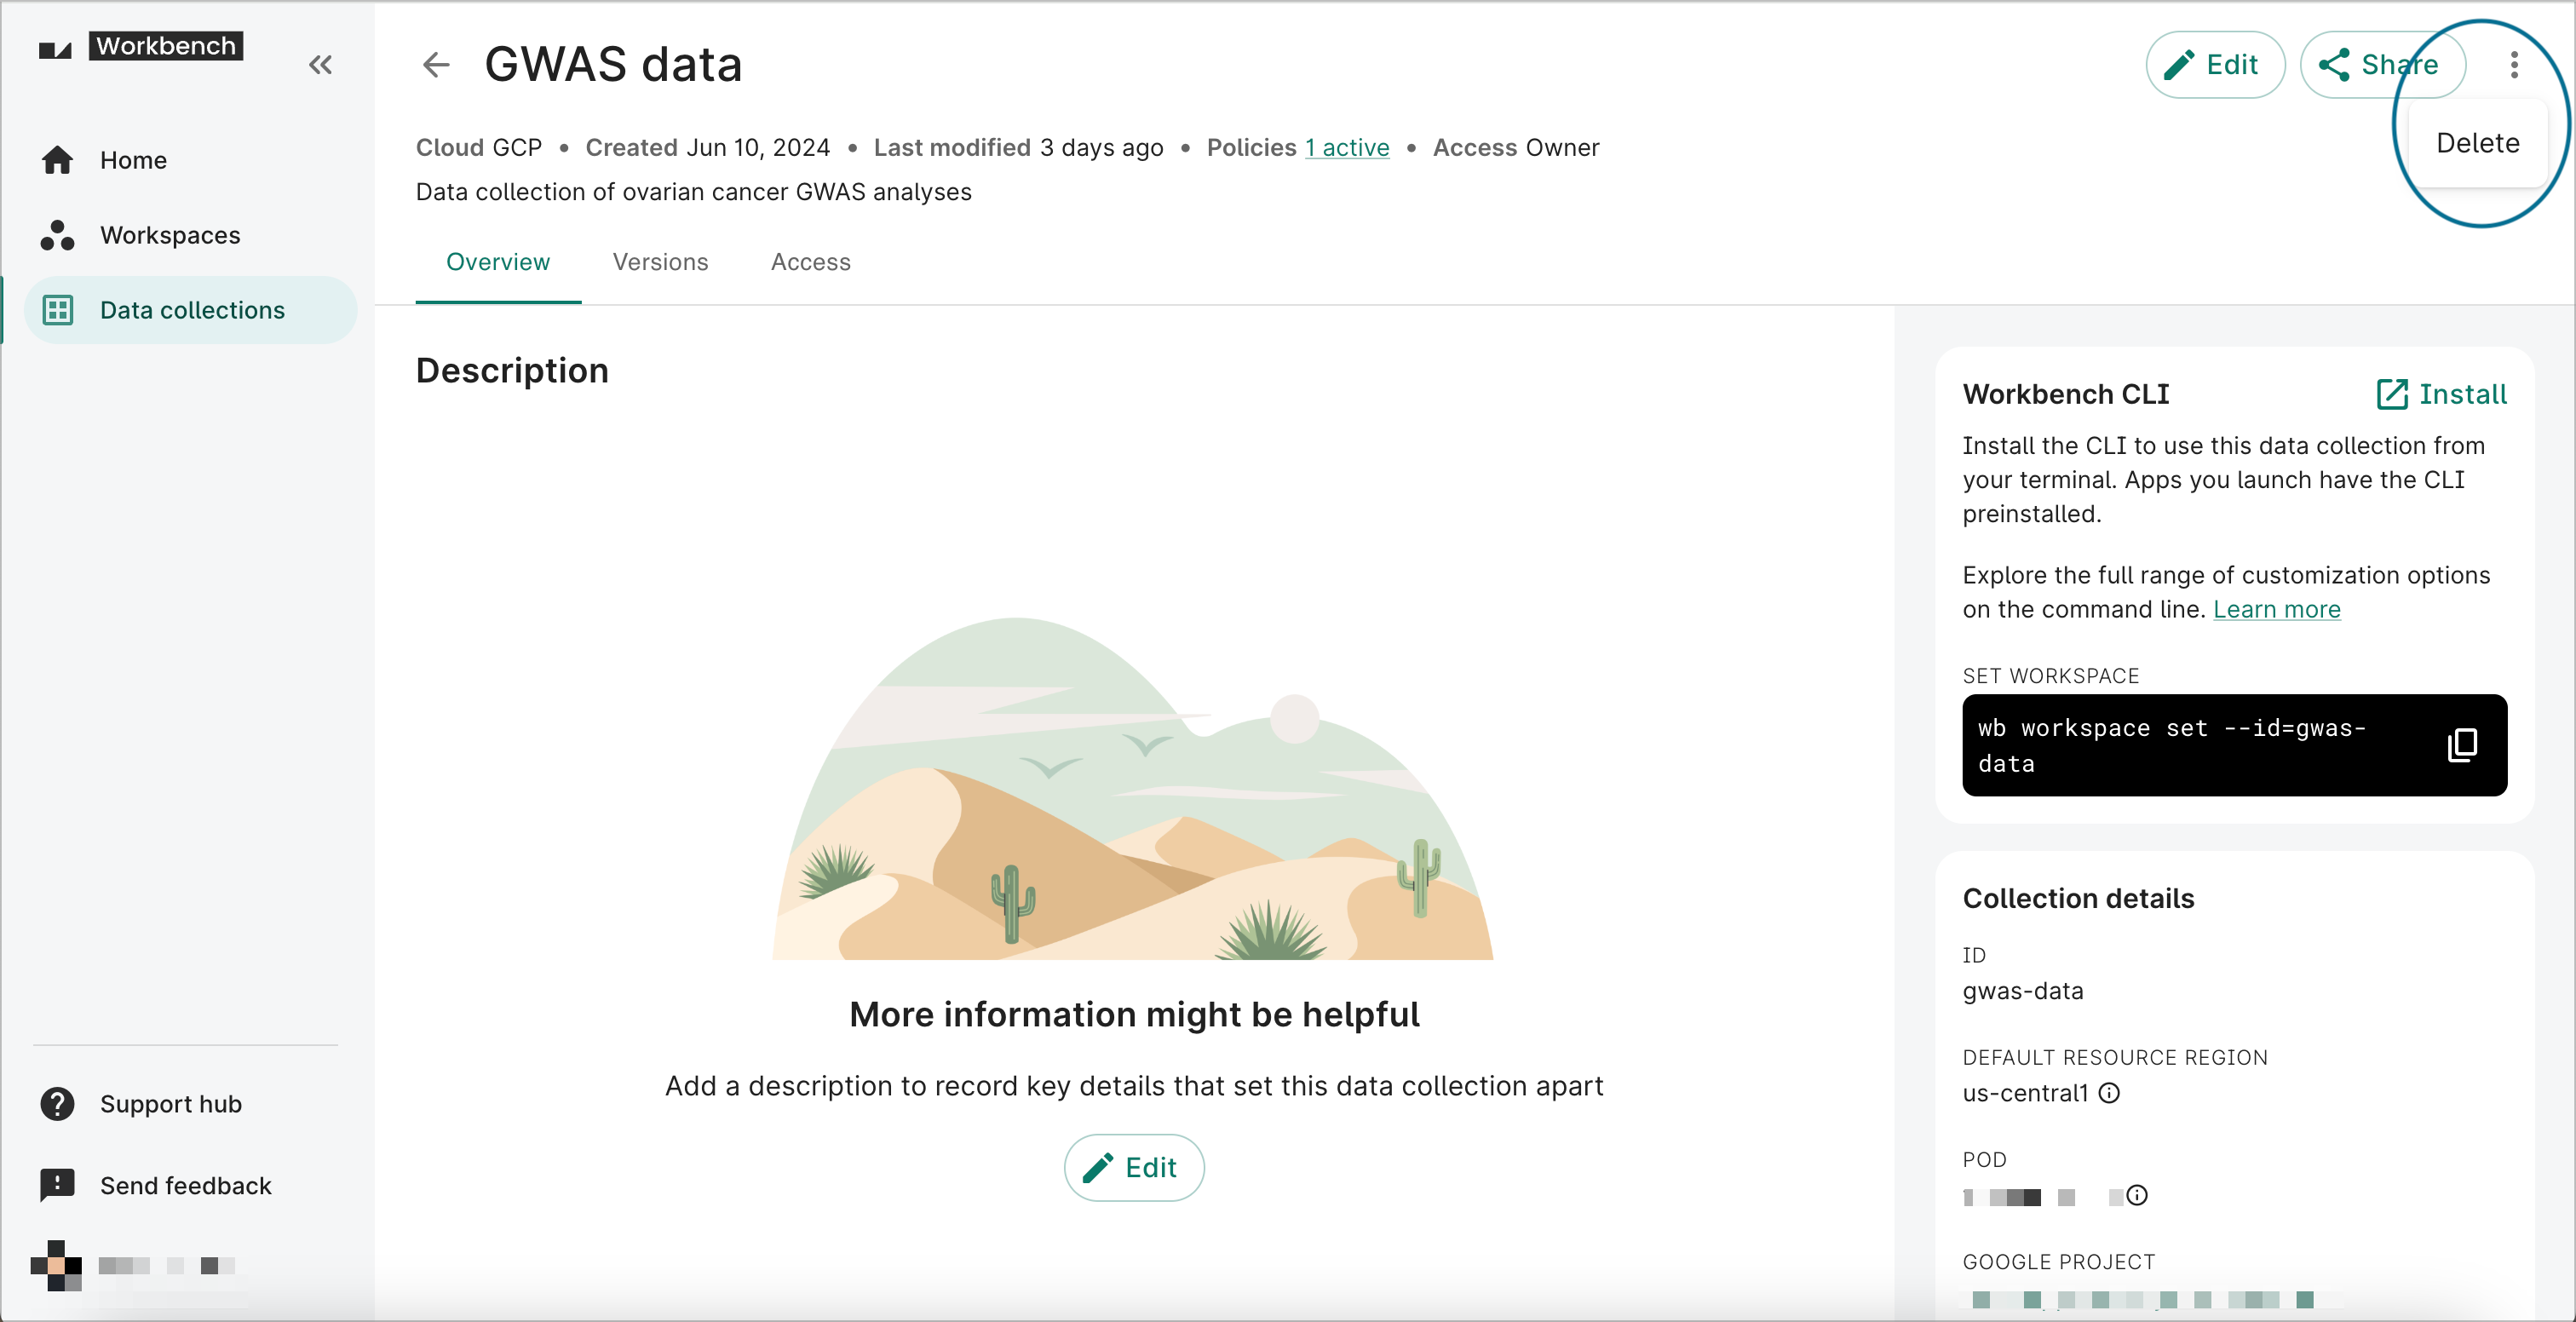
Delete your data collection
To delete your data collection, expand the three-dot menu and click Delete.
A dialog will appear asking you to confirm deletion. All controlled resources and apps will be deleted, and everyone with access to the data collection will be affected.
Be aware
All draft and published versions associated with the data collection will be deleted. Any resources that researchers may have added to any of that data collection’s versions will remain in their workspaces, but the links to those resources will be broken.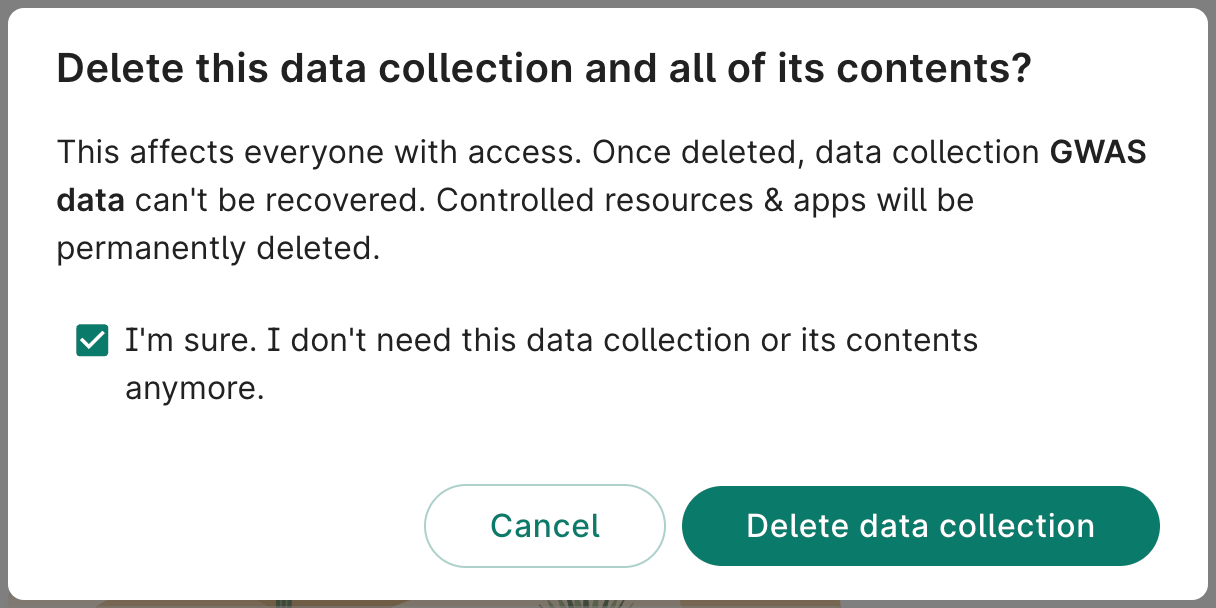
Last Modified: 6 January 2026