Use Visual Studio Code apps
Prior reading: Overview of cloud app types
Purpose: This document provides an overview of creating and using Visual Studio Code cloud apps in Workbench.
Introduction
If you're familiar with the Visual Studio Code (VS Code) interface, you can create a Visual Studio Code cloud app in Verily Workbench.
When you launch your VS Code app, Workbench will open VS Code in another browser tab.
Create your Visual Studio code cloud app
Select + New app instance to open the Creating app dialog. Select the Visual Studio Code app.
On the Compute options step, you can customize the machine type, GPUs, and data disk size.
Complete the remaining steps and select Create app. It will take a few minutes to create the app.
Run wb app create gcp with the --config option set to visual-studio-code.
Set up your cloud app
Launch your app in VS Code by selecting the name of your VS Code app. Note that the app must be running.
View files
To view your app's files, select the Files tab. You should at least see directories for repos
and workspace. Select the workspace folder to see other controlled resources from your
workspace. Here, you can also create new files and folders or upload files.
Install packages
The Workbench CLI will already be installed in your VS Code app. Open the terminal to run
wb commands.
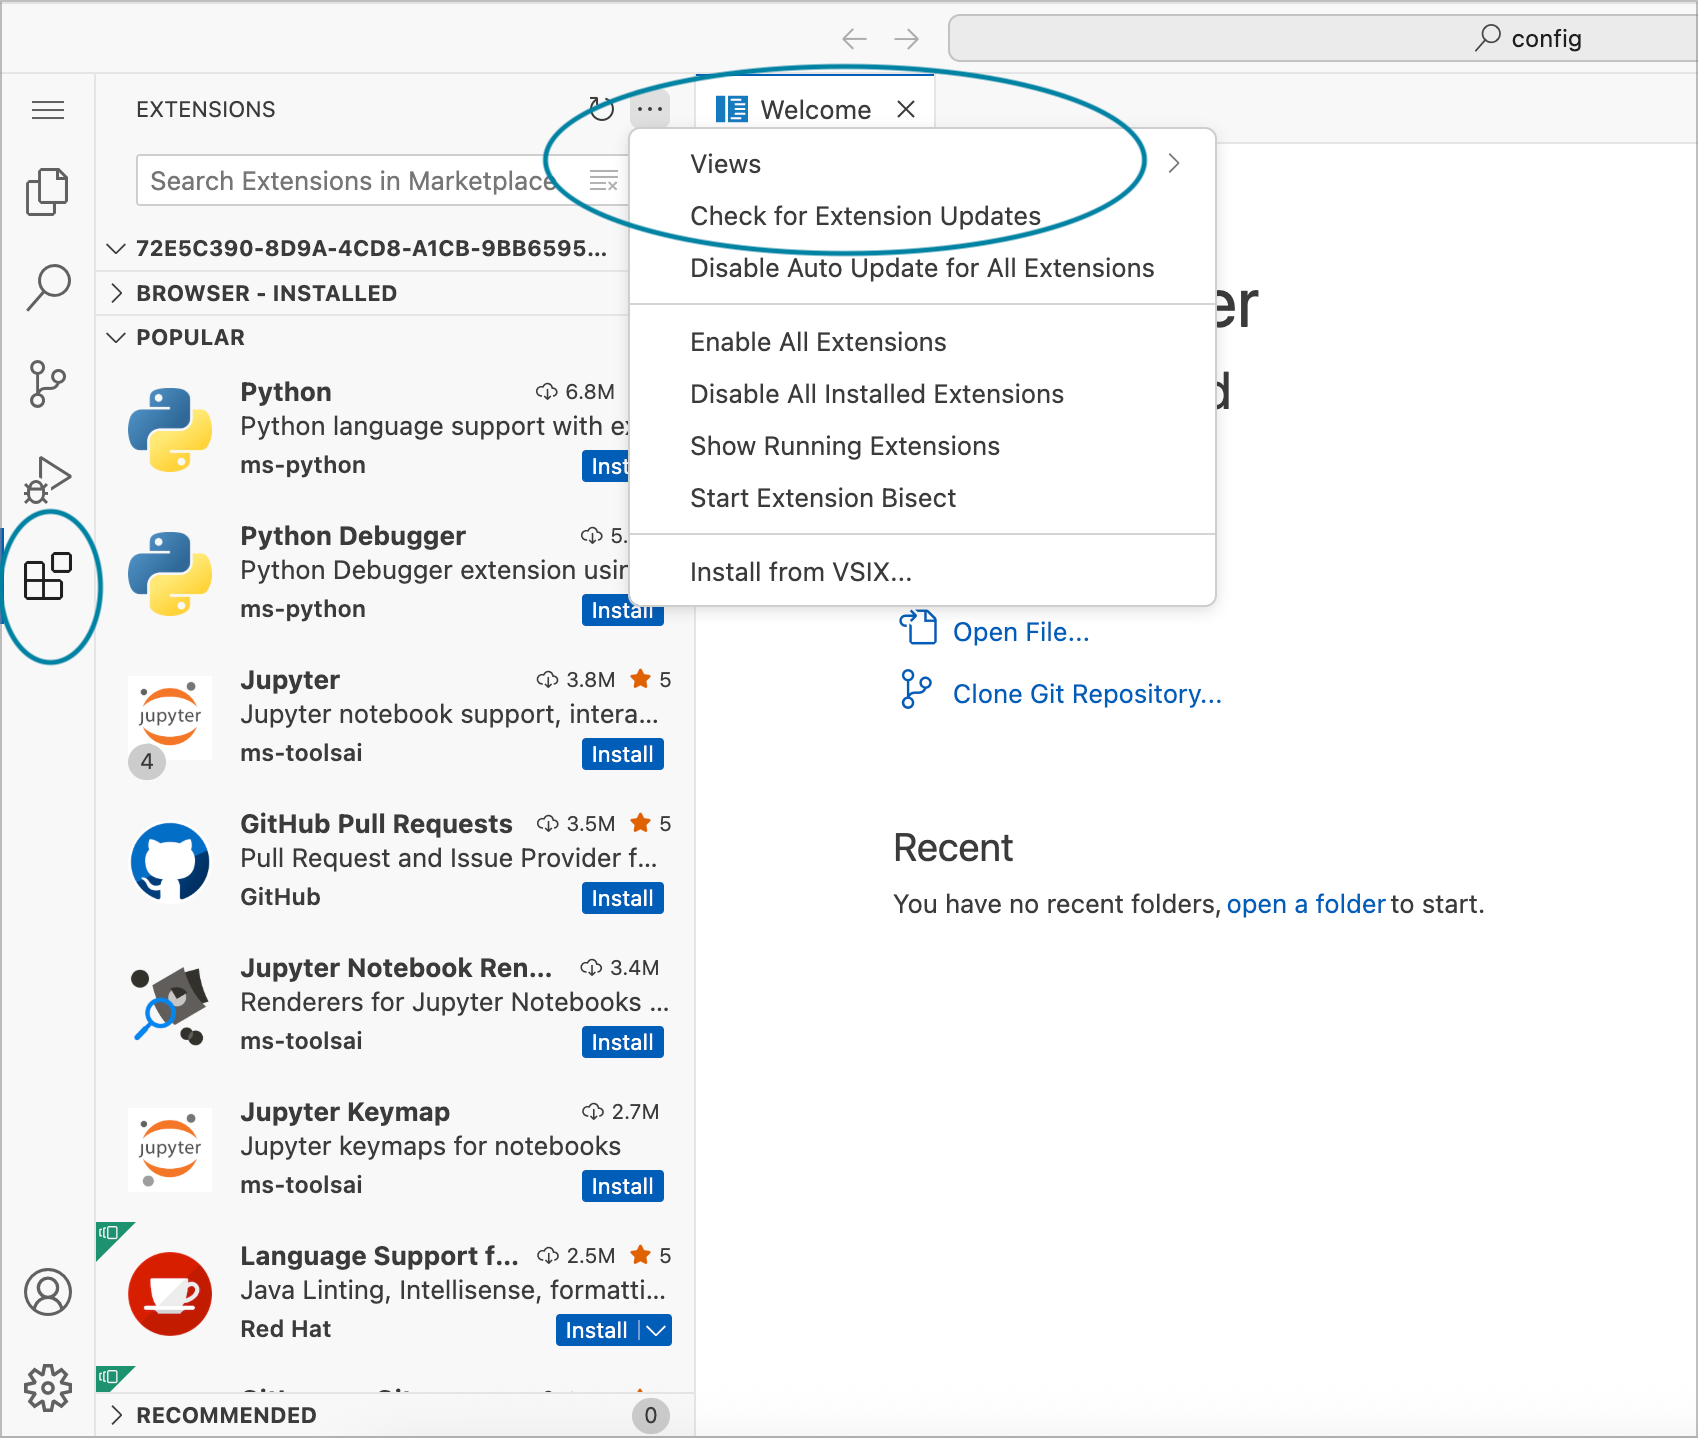
To install any other necessary packages, use the Extensions tool. Use the Check for extension updates option in the Extensions menu to update extensions.
Last Modified: 21 May 2025