Basic usage
Categories:
Prior reading: Command-line interface overview
Purpose: This document provides summary examples of commands that may be used alone or in combination to perform typical operations using the Workbench CLI.
Prerequisites
These instructions assume that you have already installed the Workbench CLI (command-line interface) or are working in a cloud app where it has been installed.
Starting a new work session
This is an example of the typical flow of operations when starting a new work session with the Workbench CLI.
Note
When running the CLI commands below, be sure to replace any example values in< > with your desired values (without brackets).
Log in
Use this command to authorize the Workbench CLI to access the relevant APIs and data with user credentials.
wb auth login
Optionally, check the authentication status to confirm the login was successful.
wb auth status
User email: xxxx@google.com
Proxy group email: PROXY_xxxxxxxxxxxxxxxxxxxxx@verily-bvdp.com
Service account email for current workspace: pet-xxxxxxxxxxxxxxxxxxxxx@terra-vpp-quick-rhubarb-111.iam.gserviceaccount.com
LOGGED IN
Check server status
Use this command to check the status of the server and details of the current context.
wb server status
List accessible workspaces
This command lists all workspaces that you (i.e. the logged-in user) have read or write access to.
wb workspace list
Create a new workspace
Use this command to create a workspace as well as a Google project to back the workspace.
wb workspace create --id=<my-workspace-id> --name=<my-workspace-name>
The --name=<my-workspace-name> argument is optional; if you do not include it, the system will
assign a randomly generated unique identifier (UUID).
Optionally, you can use the wb status command to confirm that the workspace was created
successfully.
wb status
ℹ️ wb status
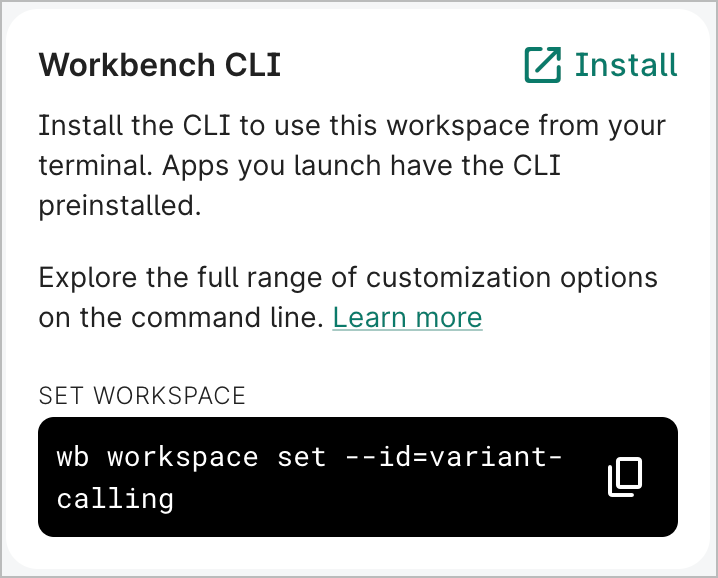
Use an existing workspace
If you want to use an existing workspace, use the set command instead of create.
wb workspace set --id=<my-workspace-id>
Note that in the Verily Workbench web UI, the overview page of a workspace includes a predetermined command that can be copied and pasted to set that workspace in the CLI.
Add a controlled resource
You can add a controlled BigQuery dataset, Cloud Storage bucket, GCP notebook, or GCP Dataproc cluster.
wb resource create
The following is an example of a Cloud Storage bucket controlled resource creation:
wb resource create gcs-bucket --id=scratch-data --description="Scratch space for working data."
Successfully added controlled GCS bucket.
Name:         scratch-data
Description:  Scratch space for working data.
Type:         GCS_BUCKET
Stewardship:  CONTROLLED
Cloning:      COPY_RESOURCE
Access scope: SHARED_ACCESS
Managed by:   USER
GCS bucket name: scratch-data-terra-vdevel-clean-pear-3014
Location: US-CENTRAL1
# Objects: 0
Add a referenced resource
You can add a BigQuery dataset/table, Cloud Storage bucket/object, or a Git repo as a referenced resource.
wb resource add-ref
The following is an example of a BigQuery table reference creation:
wb resource add-ref bq-table --dataset-id=samples --project-id=bigquery-public-data --table-id=github_timeline --id=github_timeline
Successfully added referenced BigQuery data table.
Name:         github_timeline
Description:
Type:         BQ_TABLE
Stewardship:  REFERENCED
Cloning:      COPY_REFERENCE
GCP project id: bigquery-public-data
BigQuery dataset id: samples
BigQuery table id: github_timeline
# Rows: 6219749
Locate a data resource
Use this command to list all resources in your workspace.
wb resource list
You'll see a list of resources with their respective names, resource types, and stewardship types:
NAME                            RESOURCE TYPE         STEWARDSHIP TYPE      DESCRIPTION
nb-repo                         GIT_REPO              REFERENCED            (unset)
nextflow_tests                  AI_NOTEBOOK           CONTROLLED            (unset)
nf-core-sample-data-repo        GIT_REPO              REFERENCED            (unset)
rnaseq-nf-repo                  GIT_REPO              REFERENCED            Respository containing a Nextflow RNA...
tabular_data_autodelete_aft...  BQ_DATASET            CONTROLLED            BigQuery dataset for temporary storag...
workbench-examples              GIT_REPO              REFERENCED            (unset)
ws_files                        GCS_BUCKET            CONTROLLED            Bucket for reports and provenance rec...
ws_files_autodelete_after_t...  GCS_BUCKET            CONTROLLED            Bucket for temporary storage of file ...
You can print details of a resource given its id (i.e., the name of the resource):
$ wb resource describe --id=ws_files
Name:         ws_files
Description:  Bucket for reports and provenance records.
Type:         GCS_BUCKET
Stewardship:  CONTROLLED
Cloning:      COPY_NOTHING
Access scope: SHARED_ACCESS
Managed by:   USER
Properties:   class Properties {
    []
}
GCS bucket name: terra-vpp-quick-rhubarb-111-ws-files
Location: US-CENTRAL1
# Objects: 0
You can then use this command to print the underlying cloud location.
wb resource resolve --id=<resource-name>
Create a notebook app
Use the wb resource create command to create a notebook app. The example below shows an app
configuration with a specific machine type, VM image, and GPUs.
wb resource create gcp-notebook \
--name <notebook_name> \
--machine-type=n1-highmem-16 \
--vm-image-family=tf-ent-latest-gpu \
--vm-image-project=deeplearning-platform-release \
--data-disk-size 800 \
--accelerator-type NVIDIA_TESLA_V100 \
--accelerator-core-count=8 \
--install-gpu-driver=true \
Configure autostop idle time
Use this command to update the autostop idle time (in seconds) for your app.
For Google Compute Engine:
wb resource update gce --id=<compute-engine-id> --new-metadata=idle-timeout-seconds=<autostop-time>
For AWS EC2:
wb resource update ec2 --id=<ec2-id> --new-metadata=idle-timeout-seconds=<autostop-time>
Note: Make sure to replace <compute-engine-id> and <ec2-id> with the desired computing service
ID. Replace <autostop-time> with the desired idle time. This should be a whole number.
Set gcloud credentials
Use this command to set user and application default credentials that the gcloud utilities should use to access data.
gcloud auth login
gcloud auth application-default login
ℹ️ gcloud auth
Last Modified: 9 December 2024